
 Pin it
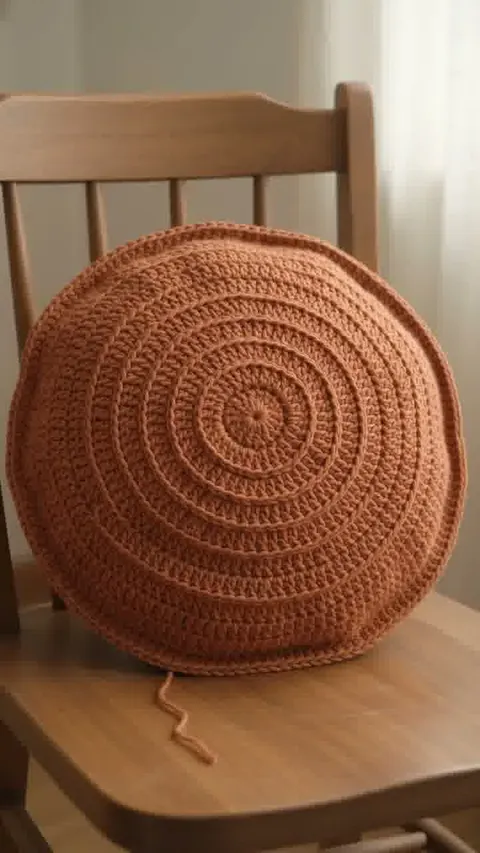
A single terracotta yarn emphasizes the concentric texture of a round cushion. With no color changes to interrupt the surface, the circular outline and even edge become the main features.
About this guide: The Reel and cover are AI-generated design illustrations. This is a planning and sampling guide, not a tested pattern for the pictured project. US crochet terminology is used.
Choose a complete round-cover pattern
Use a pattern designed for a round cushion and the type of insert you intend to use. A flat circle, a shallow dome and a stuffed cover require different shaping. Follow the specified increases and round transitions rather than treating every ring in the illustration as a countable pattern round.
Track the start of each round
Mark the round beginning and count as directed by the chosen pattern. Record completed rounds so you can make a matching second panel if required. Check whether the instructions use joined rounds or a continuous spiral; changing between them alters the visible transition and can shift the shaping.
Check the circle without pulling it
Set the sample on a flat surface and compare its diameter in several directions. If it ruffles or cups when the pattern calls for a flat section, check the stitch count, increase spacing and gauge. Blocking should follow the yarn label and should not be used to force a serious shaping error into submission.
Match the insert and side depth
Measure the intended insert across its widest point and note its depth. Follow the cover pattern’s size and fit guidance, including any side band or joining allowance. Two panels with matching diameters can still fit poorly if the seam or side section is too shallow. Test the assembled shape before completing the closure.
Complete the edge and care notes
Finish the joining method consistently around the perimeter. A removable cover needs an opening designed to admit the insert without straining the round edge. Weave in all ends securely; a dangling tail in a work-in-progress image is not a finished closure. Keep the care labels for cover and insert and dry the cover in its intended shape.
Terminology reference
Check unfamiliar US terms in the Craft Yarn Council crochet abbreviation reference. The selected pattern’s own key takes precedence for special stitches.
Before You Start
Keep the complete construction pattern, sample measurements and color notes together.
Pattern FAQs
Does this include an exact pattern for the pictured project?
Standards & Sources
Terms and sizes in this pattern follow these standards.