
 Pin it
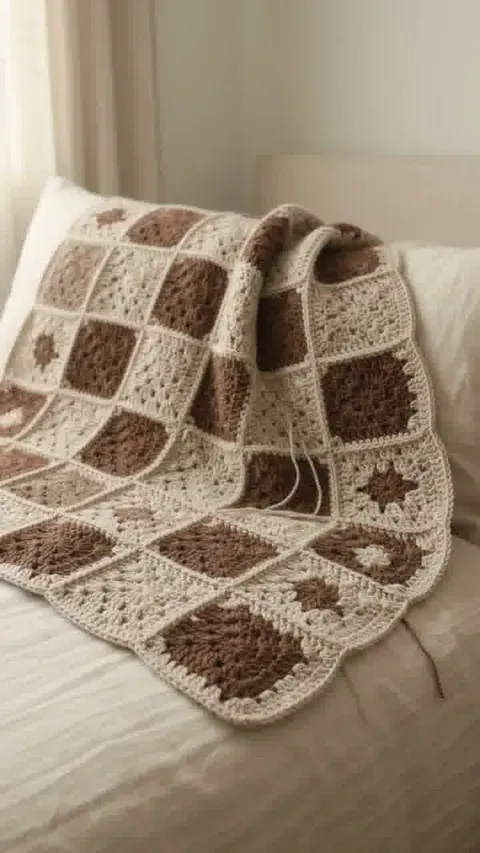
Chocolate and oatmeal give mixed square motifs a common palette. The pale surrounds connect darker centers, lighter centers and textured squares into one readable grid.
About this guide: The Reel and cover are AI-generated design illustrations. This is a planning and sampling guide, not a tested pattern for the pictured project. US crochet terminology is used.
Choose motifs designed to work together
If you want several motif types, use a complete blanket pattern that provides compatible squares or compare their edge counts carefully. Equal outside width alone does not guarantee an easy join. A circular center needs a defined square surround, and its edge must match the neighboring motif’s joining method.
Make one of every square
Work each selected motif in the intended chocolate and oatmeal yarns. Keep the same hook and record any pattern-specific differences. Care for the samples as directed on the yarn label and compare their relaxed side lengths, diagonals and edge counts. Resolve discrepancies before making large numbers of any one motif.
Balance solid and ringed centers
Lay the samples out together. Dark solid centers can appear heavier than a dark ring around a pale center, even when both use the same yarn. Distribute them deliberately and photograph the arrangement. Number the rows and mark each motif type on a small layout chart so assembly does not depend on memory.
Measure an assembled section
Join a representative group that includes the different square types. Check whether one motif pulls its neighbor inward or whether a seam stands higher than intended. Measure after the sample has relaxed. Use that assembled size, plus the chosen border, to plan the actual bed or sofa coverage.
Keep the finishing yarn consistent
Use the selected pattern’s guidance for joins and outer edging. Check the yarn quantity needed for the pale surrounds as well as the final border; they occupy more of the design than a quick glance at the dark centers suggests. Finish ends using a method appropriate to the fiber, inspect every junction, and save the yarn labels and motif chart.
Terminology reference
Check unfamiliar US terms in the Craft Yarn Council crochet abbreviation reference. The selected pattern’s own key takes precedence for special stitches.
Before You Start
Keep the complete construction pattern, sample measurements and color notes together.
Pattern FAQs
Does this include an exact pattern for the pictured project?
Standards & Sources
Terms and sizes in this pattern follow these standards.