
 Pin it
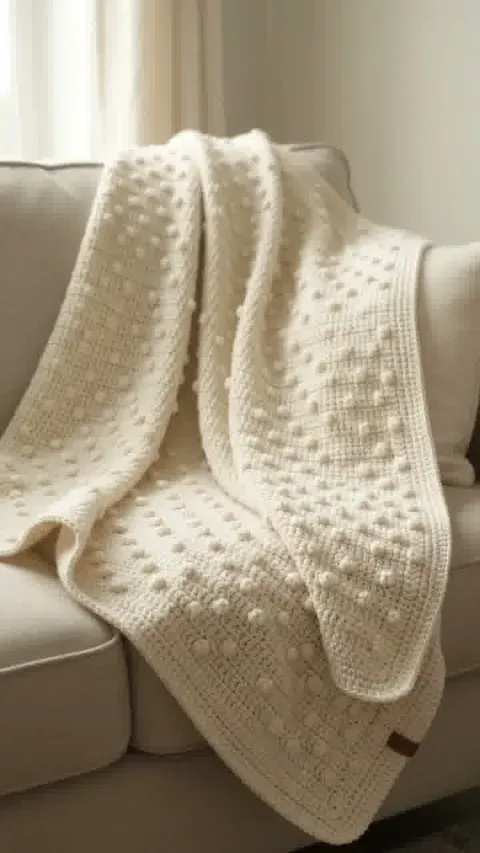
Rows of small raised bobbles give a cream throw definition without changing colors. The quiet background between the bumps matters as much as the bobbles themselves.
About this guide: The Reel and cover are AI-generated design illustrations. This is a planning and sampling guide, not a tested pattern for the pictured project. US crochet terminology is used.
Read the special-stitch key
Bobble, puff and popcorn are not interchangeable names. Different patterns also define their bobbles differently. Choose a complete throw pattern and follow its special-stitch instructions, including where each bump should face. Keep a sample of both sides so you can recognize the intended front as the fabric grows.
Sample several repeats
A small isolated bobble will not show the fabric’s overall behavior. Make enough rows to include the background stitches, repeated bobble spacing and an edge. Check that the bumps stay distributed consistently. Mark repeat boundaries and count the plain stitches between them rather than guessing from the raised surface.
Check weight and flexibility
Use the yarn and hook guidance in the chosen pattern as a starting point. Fold the sample, drape it over a sofa arm and handle it from both sides. Closely packed raised stitches can create a heavier fabric than the smooth yarn alone suggests. If the sample feels stiff, test an adjustment on a new swatch and recheck gauge before proceeding.
Measure after the planned care
Care for the sample according to the yarn label, allow it to dry completely, and measure it without flattening the bobbles. Use the pattern’s repeat and sizing instructions to approach your chosen throw dimensions. Record the sample’s yarn use; raised stitches need to be included in the estimate, not treated like an equal area of plain crochet.
Use a quiet border
A simple edge lets the texture remain the focus. Test a complete corner and the proposed border on the sample before finishing the blanket. Avoid stretching the border to conceal uneven row ends. Weave ends securely using a method appropriate to the fiber and save the care instructions with the completed throw.
Terminology reference
Check unfamiliar US terms in the Craft Yarn Council crochet abbreviation reference. The selected pattern’s own key takes precedence for special stitches.
Before You Start
Keep the complete construction pattern, sample measurements and color notes together.
Pattern FAQs
Does this include an exact pattern for the pictured project?
Standards & Sources
Terms and sizes in this pattern follow these standards.