
 Pin it
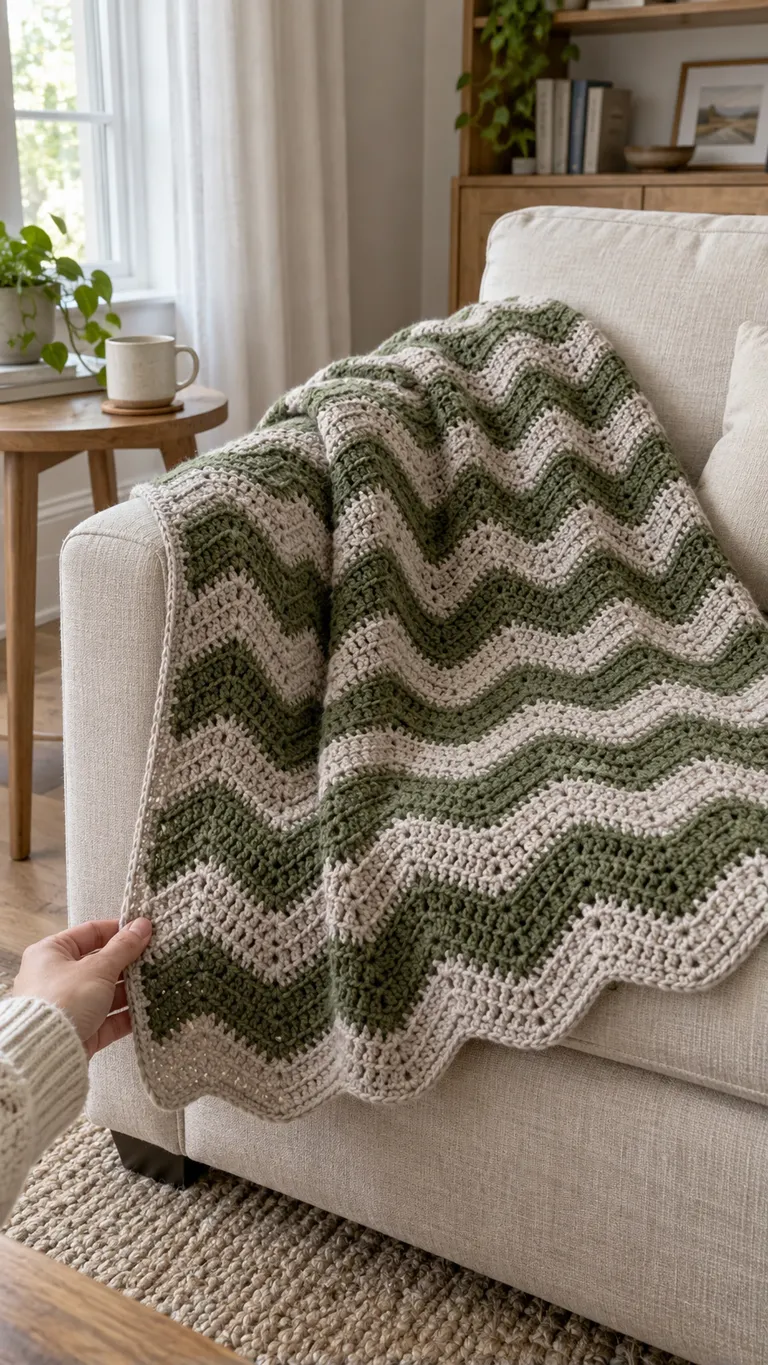
Muted green and warm grey give a ripple throw a calm, woodland palette. The chevrons bring movement to a plain linen sofa, while a narrow stone-colored edge keeps the outline quiet.
About this design: The artwork is an AI-generated design illustration. This article offers color, swatching and layout guidance, not a tested pattern for the pictured blanket. Choose a complete ripple pattern for the stitch sequence, starting chain, increases, decreases and edging.
Choose the ripple structure first
Ripple patterns can use different stitches and different ways of forming peaks and valleys. Find a complete pattern whose texture and depth of zigzag suit your project before deciding the width. This guide uses US crochet terminology; check the pattern's abbreviation key and any special-stitch instructions. The Craft Yarn Council abbreviation list is a useful reference for common terms.
Work enough of the chosen repeat to see several peaks and valleys, plus the specified side edges. Include both colors. A narrow strip may show the stitches but reveal little about how the larger fabric hangs. Follow the pattern's starting-chain calculation rather than estimating it from the photograph.
Compare the colors in the room
Place the actual moss and stone yarns against the sofa in daylight. A warm grey can look cream beside green, while a cooler grey can make the green appear sharper. Look at the swatch from across the room as well as close up: the contrast should show the ripples at the distance where the throw will usually be seen.
Begin the stripe plan on paper. Equal-width bands give a regular rhythm; wider bands make each color more prominent. Use row counts to record your choices, but judge their visible width in the worked sample. Different stitches and row heights can make the same number of rows look different.
Record one full color cycle
Write the color beside each row number for one complete cycle, then repeat that written sequence. Mark the completed row on the paper as you work. Keep a separate note of the pattern repeat so a color change does not replace a required increase or decrease.
For an arithmetic example, a plan of four moss rows followed by four stone rows has an eight-row color cycle. Six complete cycles contain 48 rows, with 24 in each color. That example explains the counting method; it is not a row prescription for this illustration or a blanket size. Add any starting or finishing rows required by your selected pattern separately.
Measure without pulling the zigzags straight
Care for the swatch according to the yarn label, then let it dry fully before measuring. Lay it down without stretching the peaks into a straight line. Record the relaxed width across several complete repeats and the height of a full color cycle. Also note how the side edges behave.
Use the selected pattern's sizing method to turn those measurements into a starting width and planned length. Allow for its edging. Check the intended coverage on the sofa with a tape measure: a throw that only covers the seat needs a different size from one that drapes over an arm and hangs down the front.
Check the edge before committing to a border
Keep track of the color-change ends as you sample. Use the finishing method appropriate to your yarn and pattern, and see whether it makes the edge bulky. Do not assume that carrying every strand up the side will be hidden by a narrow border.
Try the proposed border on a sample that includes a side edge and the ripple-shaped end. Follow the pattern for working into row ends, peaks and valleys. Lay the sample flat, then drape it over the sofa arm. Waving, cupping or an edge that pulls the fabric inward deserves attention before the whole blanket is finished.
Keep the pattern source, yarn labels, hook size, stripe chart, relaxed measurements and actual yarn use together. These notes provide a dependable starting point if you want to repeat the color arrangement later.
Before You Start
Keep the stripe chart, relaxed measurements and pattern notes together.
Pattern FAQs
Does this guide contain the exact ripple stitch pattern?
Standards & Sources
Terms and sizes in this pattern follow these standards.