
 Pin it
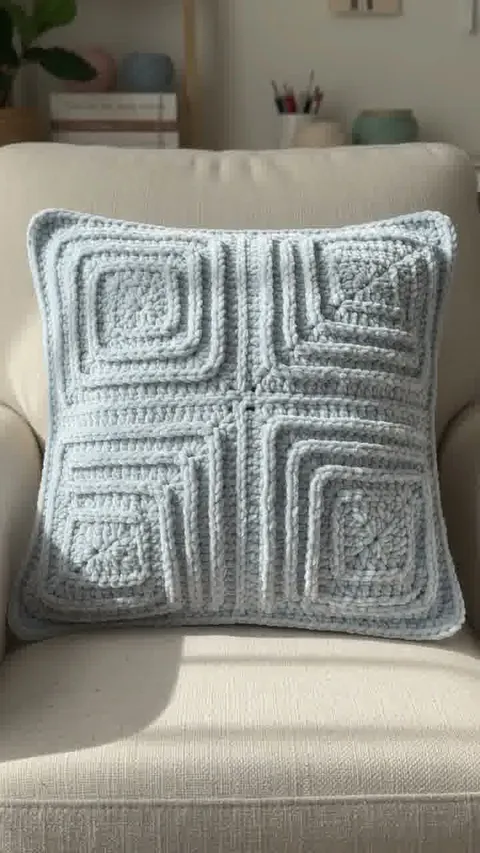
Plan the mesh foundation and raised velvet lines of the official Swirling Textures pillow.
Source: Yarnspirations, Swirling Textures Crochet Pillow (BRC0520-028391M).
This independently written planning companion uses US crochet terminology. The accompanying Reel is an AI-generated illustration, not a verified finished sample or a stitch tutorial. The complete pattern is not reproduced here. Find the official PDF on Yarnspirations by its exact name and code for executable instructions.
Read the material and size specifications
The Intermediate pattern makes a 24-inch square pillow with a matching form. It lists four 300 g/315 yd balls of Bernat Velvet in Softened Blue, a 6.5 mm hook for the grid and a 5.5 mm hook for the raised wiggles. Gauge with the larger hook is 14 stitches and 7 rows per 4 inches in the grid, and 10 single crochet and 11 rows per 4 inches.
Understand the construction
The front begins as a half-double-crochet and chain-space grid. Raised double-crochet wiggles work around its posts and spaces following the arrow chart. The design forms four quadrants of nested angular paths. Two back pieces overlap to create an envelope opening, with post-stitch ribbing at their edges.
Read each quadrant
Trace one arrow path on a copy of the chart before working. The name suggests swirling motion, but the photographed texture uses angular turns rather than circular spirals.
Keep the grid accessible
Use removable markers to identify the start and direction of a raised path. Avoid stretching the mesh while turning it to reach the next post.
Test the envelope opening
Compare the two back panels and their planned overlap before joining the perimeter. A well-positioned opening lets you remove the form without pulling at the raised face.
How to read the illustration
The illustration preserves the four angular textured quadrants but simplifies their paths and uses a generic edge stitch. It does not demonstrate the PDF surface-wiggle construction over a chain-space grid. Use the official PDF for the complete construction and stitch sequence.
Before You Start
Keep the official PDF, your measurements and your swatch notes together while planning the project.