
 Pin it
Plan the box-shaped tote and its blue rose embroidery using the official material list and chart.
Source: Yarnspirations, Crochet Floral Cross Stitch Tote Bag (CAC0101-031767M).
This independently written planning companion uses US crochet terminology. The accompanying Reel is an AI-generated illustration, not a verified finished sample or a stitch tutorial. The complete pattern is not reproduced here. Find the official PDF on Yarnspirations by its exact name and code for executable instructions.
Read the material and size specifications
The Easy tote measures approximately 17 by 16 by 3 inches. It calls for two Caron Colorama O’Go Sticky Rice packages and one Baja package, each 180 g/228 yd, with a 6 mm hook and yarn needle. Gauge is ten single crochets and 11 rows per 4 inches.
Understand the construction
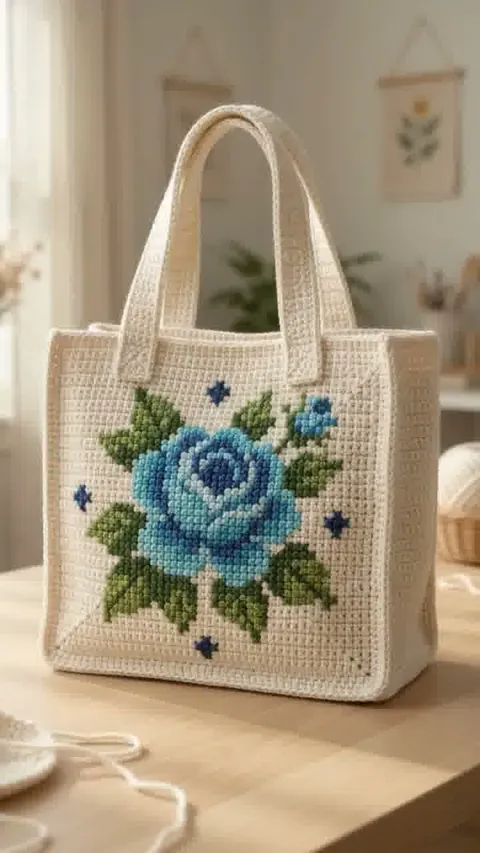
Single-crochet front, back, side and bottom panels form a box. The blue-and-green rose is cross stitched onto the front after crocheting; each chart square represents one single crochet. Two broad crocheted straps complete the bag.
Mark the embroidery grid
Find the lower and side placement offsets in the PDF before starting the rose. Mark those reference lines with removable thread, then count from them as the embroidery grows. The design is applied embroidery, not colorwork built into the crochet rows.
Match the panel edges
Lay the two large panels together and compare their relaxed dimensions. Align corners with the narrow side pieces before joining, so any difference in row tension is found before the bottom is attached.
Check the carrying points
Pin both two-inch-wide straps at the stated placement and check their orientation. Reinforce the attachments with neat, secure stitching appropriate to the yarn; do not assume an attractive photo proves a load capacity.
How to read the illustration
The illustrated blue rose and accent placement are approximate decorative interpretations of the PDF chart. The close-up shows generic cream edge work, not the cross-stitch embroidery sequence. Use the official PDF for the complete construction and stitch sequence.
Before You Start
Keep the official PDF, your measurements and your swatch notes together while planning the project.