
 Pin it
A poncho made from small motifs needs a layout plan as well as a pleasing palette. This companion explains what to check before producing a batch of squares.
Source: Yarnspirations, Red Heart Granny Poncho, designed by Gayle Bunn, LW1456 / RHC0107-023754M. The one-page PDF carries a 2005 Coats & Clark copyright notice.
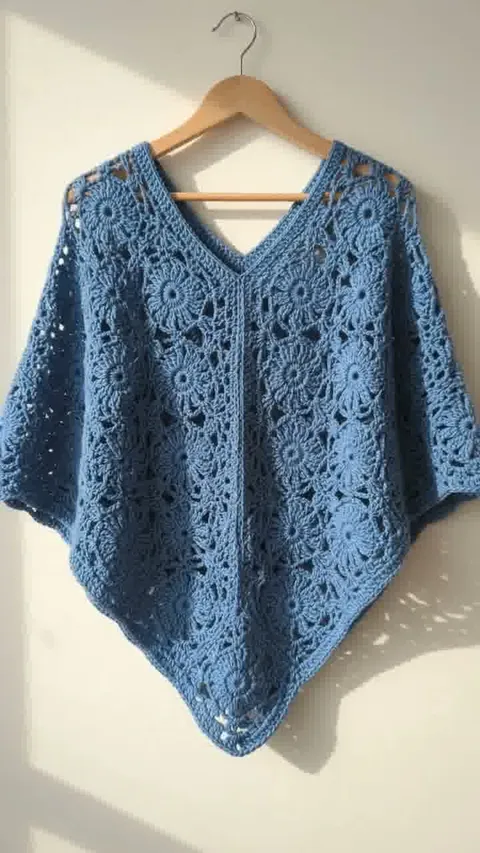
The accompanying Reel is an AI-generated illustration, not a verified finished sample or a stitch tutorial. This article is an independently written planning companion, not a reproduction of the complete pattern. Obtain the official pattern by searching its exact name and reference number on Yarnspirations.
The visual uses enlarged floral motifs for illustration. Follow the PDF, not the visible motif count or joining motion, for the actual project.
Read the material and gauge notes
The pattern is Intermediate and offers one adult size described as fitting most women. It specifies Red Heart LusterSheen in 4 oz / 335 yd skeins and a suggested 3.5 mm hook. The four-color option calls for three black skeins plus one each of natural, medium blue and hot pink. The monochrome option calls for four medium-blue skeins. A finished motif should measure 4½ inches square.
Plan the joined pieces
Motifs after the first connect during their fifth round. Each of the two panels contains four strips of eight motifs: 64 motifs in total, calculated as 2 × 4 × 8. Joining a short panel edge to the other panel’s long edge creates the garment arrangement. The PDF gives separate lower and neck edging instructions. Use its actual joining sequence and color placement, rather than substituting a generic granny-square seam.
Check fit before committing to every motif
A single-size description is not a guarantee of personal fit. Make a representative joined sample, measure it and compare the planned garment with a comfortable existing layer. Changing motif gauge changes the whole garment. If a size adjustment is needed, work from a complete, checked modification rather than adding a random strip at the end.
Label the layout clearly
Keep a numbered diagram beside the work and identify which panel each strip belongs to. A photograph of the arranged samples can serve as a useful reminder. Place finished motifs in labeled groups instead of mixing all color sequences in one basket. Check neighboring corners before making each permanent connection.
Handle an older yarn specification carefully
The PDF’s yarn name and put-up describe the original materials, not a promise of current availability. If choosing a substitute, compare fiber, thickness and length, then test the motif gauge and joined fabric. Keep a small labeled sample of every selected shade. That record helps when a project spans multiple shopping trips or needs a repair later.
Before You Start
Keep the official PDF, your chosen size, swatch measurements and yarn notes together.