
 Pin it
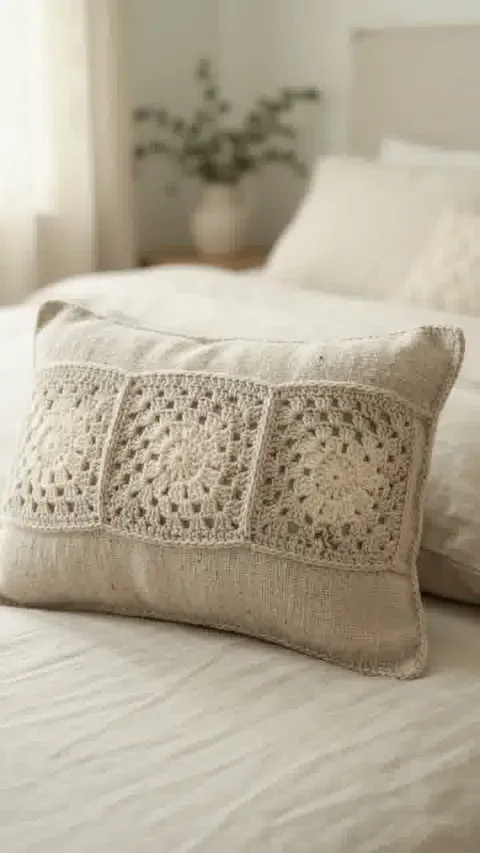
Three cream-centered crochet squares form a band across an oatmeal rectangular cushion. Plain areas above and below give the small motifs room to stand out.
About this guide: The Reel and cover are AI-generated design illustrations. This is a planning and sampling guide, not a tested pattern for the pictured project. US crochet terminology is used.
Choose the cover construction
Decide whether the motifs belong to a complete crochet cover or are attached to a separate fabric cover. The illustration does not establish that construction. Use a complete pattern appropriate to your choice, including its attachment, seam and closure instructions. A rectangular decorative cushion does not imply any therapeutic benefit.
Make three comparable samples
Work the selected square pattern in cream and oatmeal yarns. Care for the samples according to their labels and compare relaxed widths, heights and edge counts. The center band will show uneven squares clearly. Resolve a size mismatch before joining rather than pulling the smallest motif to match the others.
Measure the joined band
Join the three samples using the chosen pattern’s method. Check both seams and measure the assembled width. The finished band may differ from three times the loose-square measurement. Compare it with the cover’s usable front area after allowing for side seams and any surrounding border.
Balance the plain areas
Mark the center of the cover and position the motif band without stretching either material. If attaching crochet to woven fabric, sample the attachment on spare material first and check how the two behave after care. Use compatible washing instructions. Follow the selected construction pattern for securing the band and distributing tension.
Check the rectangular fit
Fit the intended insert through the supported removable opening. Inspect the three motifs across the curved front and check that the band has not shifted upward or twisted. Secure every end and attachment point, remove temporary markers and keep the cover and insert care labels. Save the band dimensions if making a matching cushion later.
Terminology reference
Check unfamiliar US terms in the Craft Yarn Council crochet abbreviation reference. The selected pattern’s own key takes precedence for special stitches.
Before You Start
Keep the complete construction pattern, sample measurements and color notes together.
Pattern FAQs
Does this include an exact pattern for the pictured project?
Standards & Sources
Terms and sizes in this pattern follow these standards.