
 Pin it
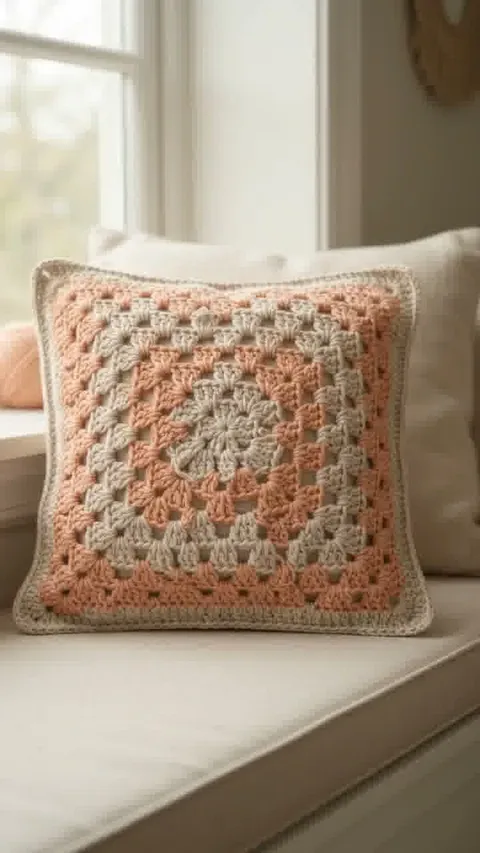
Peach and pale linen-colored rounds grow outward from the center of a granny-square cushion. The repeated bands give a single large square a clear frame.
About this guide: The Reel and cover are AI-generated design illustrations. This is a planning and sampling guide, not a tested pattern for the pictured project. US crochet terminology is used.
Start with one complete square pattern
Choose a cushion pattern that builds its front from a large granny square. Read how it handles corners, round joins and any turning between rounds. A square made from the center needs the prescribed corner shaping throughout; adding extra rounds without checking size can create a cover that no longer fits its insert.
Write down the color sequence
Assign peach and linen-colored yarn to each round on paper. Keep a small yarn sample beside the chart so a neutral shade is not confused with a similar leftover yarn. Work enough rounds to see more than one color change. Outer bands cover more area than the same number of rounds near the center.
Check corners as the square grows
Place the work flat regularly and compare its sides and diagonals without stretching it. Count the stitch groups and corner spaces against the pattern. If the center twists or an edge waves, investigate the stitch placement and gauge before adding more rounds. A larger border will not necessarily correct an underlying error.
Measure the cared-for front
Follow the yarn-label care instructions on a sample before deciding the final number of pattern-supported rounds. Compare the relaxed measurements with the intended insert and the cushion pattern’s fit guidance. Include the outer edging and joining allowance. Check whether the open spaces need a plain inner cover behind them.
Finish the cover evenly
Follow the selected pattern for the back and removable opening. Join corresponding points consistently and inspect the corners with the insert inside. Secure color-change ends where they will not show through the pale areas. Keep the round-by-round color chart, yarn labels and sample measurements together for future repairs or a matching second cushion.
Terminology reference
Check unfamiliar US terms in the Craft Yarn Council crochet abbreviation reference. The selected pattern’s own key takes precedence for special stitches.
Before You Start
Keep the complete construction pattern, sample measurements and color notes together.
Pattern FAQs
Does this include an exact pattern for the pictured project?
Standards & Sources
Terms and sizes in this pattern follow these standards.