
 Pin it
Plan the two-panel poncho using the official widths, alternating rows and front lace section.
Source: Yarnspirations, Lace Panel Crochet Poncho by Salena Baca (RHC0107-016013M).
This independently written planning companion uses US crochet terminology. The accompanying Reel is an AI-generated illustration, not a verified finished sample or a stitch tutorial. The complete pattern is not reproduced here. Find the official PDF on Yarnspirations by its exact name and code for executable instructions.
Read the material and size specifications
The Easy design uses Red Heart Boutique Unforgettable in Meadow, 100 g/270 yd balls. Sizes S through 3X require 3, 4, 4, 4, 5 and 5 balls and a suggested 6 mm hook. Widths range from 25 to 31½ inches and lengths from 20 to 25 inches. Gauge is 12 double crochets and eight alternating double-crochet/half-double-crochet rows per 4 inches.
Understand the construction
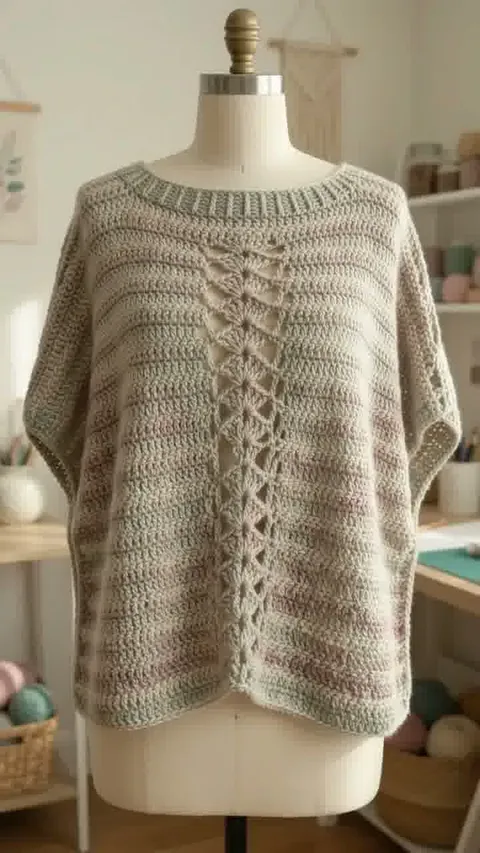
Two panels extend downward from the shoulders. The front has a center section of double-crochet decreases and clusters; the back is plainer and begins on the unused foundation loops. The supplied file has two pages, despite an old reference to a page-three photo. Use its stitch chart and schematic alongside the written directions.
Measure the intended drape
The source asks for a shoulder measurement at collarbone level, divided by two, when selecting width. Compare that number with the garment dimensions rather than choosing by a familiar clothing label alone. Leave room to move the arms comfortably.
Track the center section
Mark the boundaries between the plain side areas and the lace center. Count the complete row after working the clusters and decreases; the decorative center should not quietly consume stitches from one side. Check that both plain areas remain balanced.
Compare front and back
Place both panels flat after they have rested. Compare their row counts and lengths before weaving in the final ends. The shallow curved front detail is part of the design; avoid trying to stretch it into a sharp pointed hem.
How to read the illustration
The AI illustration has a straighter and narrower lace column, more muted color and a narrower drape than the source. Its boat neck, plain side panels and nearly level lower edge echo the design, but it is not a verified sample or an executable lace demonstration. Use the official PDF for construction details.
Before You Start
Keep the official PDF, your measurements and your swatch notes together while planning the project.