
 Pin it
Read the official striped poncho specifications and plan its camel-stitch texture and small flower embellishments.
Source: Yarnspirations, Toddler’s Perfect Poncho by Marly Bird (RHC0307-017287M).
This independently written planning companion uses US crochet terminology. The accompanying Reel is an AI-generated illustration, not a verified finished sample or a stitch tutorial. The complete pattern is not reproduced here. Find the official PDF on Yarnspirations by its exact name and code for executable instructions.
Read the material and size specifications
Sizes 2T through 5T have a 20-inch top circumference, bottom circumferences of 40, 42, 44 or 46 inches and lengths of 12, 13½, 15 or 16½ inches. The PDF calls for one 127 g/247 yd ball each of Baby Hugs Medium in Pool, Frosting and Dolphin, a 5.5 mm hook and gauge of 12 double crochets by 8½ rows per 4 inches in its camel stitch.
Understand the construction
The poncho is worked bottom-up in joined rounds with the right side facing. Stitches use the back and third loops, and decreases shape the upper portion. A single-crochet neck edge finishes the garment. Flowers are worked onto chosen areas of the existing fabric using the supplied diagram.
Track each stripe on paper
Set up a short checklist for the chosen size before beginning. Mark a round only after joining it. This makes it easier to resume after a break without treating the illustration as a row-count reference.
Keep the joining line orderly
Check the join under consistent lighting as the work grows. Keep loose ends managed so they do not pull at nearby stitches while you assess tension. A visible ridge is easier to address early than after all embellishments are added.
Place the flowers after shaping
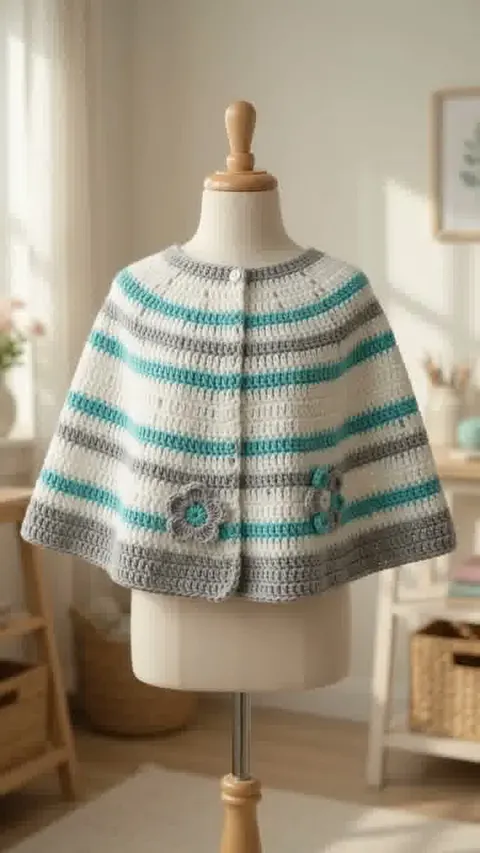
Let the finished garment settle before selecting flower positions. Use temporary markers to compare the arrangement from the front and side. The generated flower shapes and stripe spacing are illustrative; the PDF supplies the executable sequence and four-petal diagram.
How to read the illustration
Circular bell cape, level stripes and two flowers. The illustration adds a visible center-front line and small neckline fastening; placement and fabric texture are approximate, not the PDF sample. Follow the official PDF for the actual construction and stitch sequence.
Before You Start
Keep the official PDF, your measurements and your swatch notes together while planning the project.