
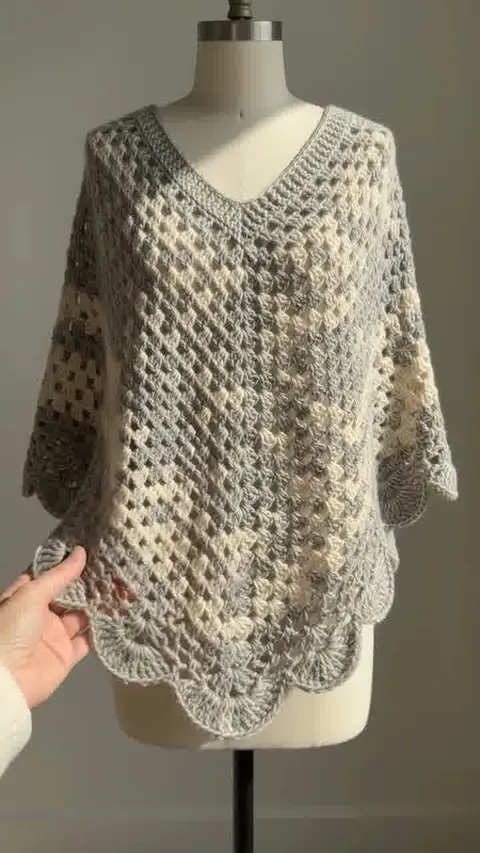
 Pin it
Read the vintage PDF's yarn, gauge and folded-rectangle notes before beginning Dee Neer's scalloped poncho.
Source: Yarnspirations, The Gift Poncho by Dee Neer (CAC0107-000680M).
This independently written planning companion uses US crochet terminology. The accompanying Reel is an AI-generated illustration, not a verified finished sample or a stitch tutorial. The complete pattern is not reproduced here. Find the official PDF on Yarnspirations by its exact name and code for executable instructions.
The visual uses a narrower silhouette and smaller scallops than the source sample. Its short hand sequence is illustrative and does not demonstrate the prescribed pattern repeat.
Read the material and size specifications
The PDF lists XS/S, M and L/XL, with lengths of 18, 20 and 22 inches before the scalloped edging. It specifies grey heather and bone Simply Soft held together throughout, three skeins of each shade for every size. Its historical skein specification is 6 oz/172 g and approximately 330 yards; compare that with the yarn you can actually obtain.
Understand the construction
The suggested hook is 6.5 mm, adjusted to obtain 10 stitches and 6 rows per 4 inches in the stitch pattern. A large rectangle is folded and seamed before the fan edging is added. The neckline receives single crochet followed by reverse single crochet. The pointed end can be worn at the front or back.
Treat two strands as one working pair
Put the two yarn supplies in separate containers and pull out similar amounts before starting a row. If one strand runs tighter than the other, stop and free it rather than compensating with a looser hook grip. Check both strands are caught in each stitch when examining the sample.
Check the folding diagram before sewing
Use removable markers to identify the corners and fold the fabric without fastening it permanently. Compare the arrangement with the diagram before stitching the seam. A temporary join lets you assess the opening and drape without undoing a finished border.
Leave room for the scallops
Measure the main fabric and the border separately. A fan edge adds depth and changes the silhouette; it should not be treated as part of the plain rectangle measurement. Lay the work flat without stretching when comparing the two sides.
Before You Start
Keep the official PDF, your measurements and your swatch notes together while planning the project.