
 Pin it
Use the official panel dimensions and gauge to plan a soft, open-front wrap.
Source: Yarnspirations, Fuzzy Flannel Wrap (BRC0107-036042M).
This independently written planning companion uses US crochet terminology. The accompanying Reel is an AI-generated illustration, not a verified finished sample or a stitch tutorial. The complete pattern is not reproduced here. Find the official PDF on Yarnspirations by its exact name and code for executable instructions.
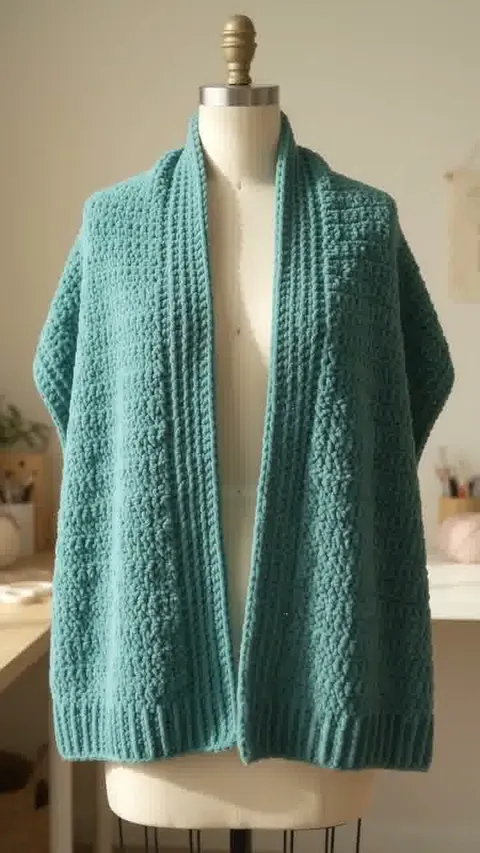
The Reel shows an approximate open-front shape with a narrower shoulder drape and a less fuzzy surface than the official sample. Use the PDF measurements and specified fabric gauge rather than measuring the illustration.
Read the material and size specifications
The Beginner Bernat Fuzzy Flannel Wrap uses Forever Fleece, a bulky yarn. The PDF lists six 280 g balls, or 1,149 yards, in Leisure Teal. It suggests a 9 mm hook, adjusted to obtain 8 single crochets and 9 rows per 4 inches. Each of its two panels measures approximately 19 by 57 inches.
Understand the construction
The finished wrap is about 38 inches wide and 28½ inches long from the shoulder. The panels run from the lower front to the lower back. Their center edges are joined only halfway, leaving the front open. Back-loop stitches at the panel edges create a ribbed effect. Use the two-page pattern for the precise stitch counts and assembly diagram.
Measure along a clear center line
Choose a consistent line down the middle of each panel and measure there without pulling the fabric. Soft bulky yarn can compress under a ruler. Keep the tape on the surface and compare both panels after they have rested flat.
Mark the halfway point
Fold a panel gently to identify its midpoint, then confirm with a tape. Mark the corresponding point on the second panel before joining. Temporary markers make the intended back seam and open front easier to distinguish.
Keep the edges relaxed
Check the foundation and the worked edge as the panel grows. An overly tight edge can make a long rectangle curl or draw inward. Compare a short section early, while changing hook size or tension would involve little reworking.
Before You Start
Keep the official PDF, your measurements and your swatch notes together while planning the project.