
 Pin it
Plan a fuzzy hooded poncho with the official child-size measurements, yarn requirements and finishing sequence.
Source: Yarnspirations, Crochet Kids Polar Bear Poncho (BRC0307-035453M).
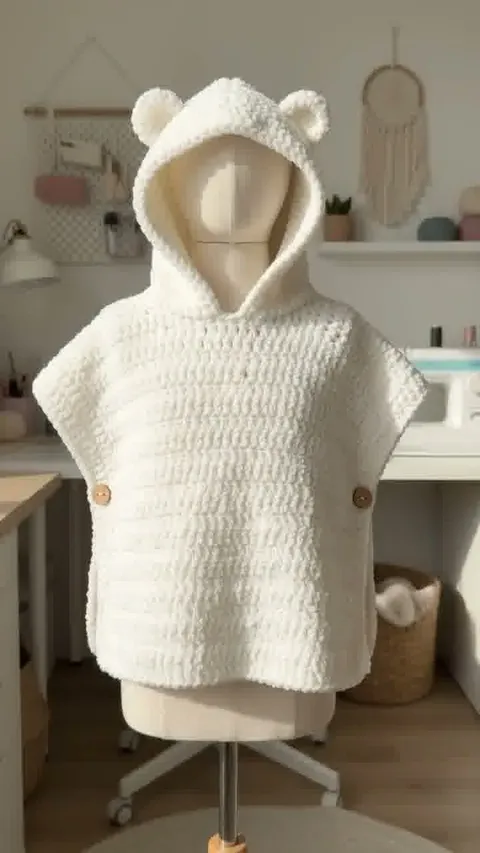
This independently written planning companion uses US crochet terminology. The accompanying Reel is an AI-generated illustration, not a verified finished sample or a stitch tutorial. The complete pattern is not reproduced here. Find the official PDF on Yarnspirations by its exact name and code for executable instructions.
The illustration simplifies the fastening to one visible button on each side and shows a less fluffy surface. The hand shot shows generic edge work rather than the ear assembly. The source calls for four buttons and separately made ears.
Read the material and size specifications
The PDF offers ages 2, 4 and 6, fitting chest ranges 20–22, 22–24 and 24–26 inches. It specifies Bernat Pipsqueak, 100 g/101 yd balls: 4, 4 or 5 balls, with requirements of 364, 390 or 416 yd. The starting hook is 5.5 mm; gauge is 9 single crochets and 12 rows per 4 inches.
Understand the construction
The body is worked front-to-back in half double crochet with neck shaping. A hood is added at the neck and seamed across its top. Two separately made ears are folded and attached. Four one-inch buttons join the sides to form armholes. The printed body dimensions describe the long piece, not just its worn shoulder-to-hem drop.
Mark the fuzzy fabric
Use removable markers to keep the edges visible while checking your work. Count at a consistent stopping point so the pile does not hide an accidental missed stitch. Compare both sides under bright, even light before joining.
Check the hood before the ears
Finish the hood seam and let the garment rest naturally before choosing ear positions. Pin the ears temporarily, compare their height from the front, then check from the side. A flat table can conceal a tilted attachment.
Read measurements carefully
Keep the selected age column visible throughout. The source includes rounded metric conversions, so use one measurement system consistently instead of switching mid-project. The generated scene illustrates the shape; it cannot establish fit or exact stitch placement.
Before You Start
Keep the official PDF, your measurements and your swatch notes together while planning the project.