
 Pin it
Prepare matching textured panels and keep the neckline and lower-edge finishing stages organized.
Source: Yarnspirations, Perfect Patterned Poncho (BRC0107-005986M).
This independently written planning companion uses US crochet terminology. The accompanying Reel is an AI-generated illustration, not a verified finished sample or a stitch tutorial. The complete pattern is not reproduced here. Find the official PDF on Yarnspirations by its exact name and code for executable instructions.
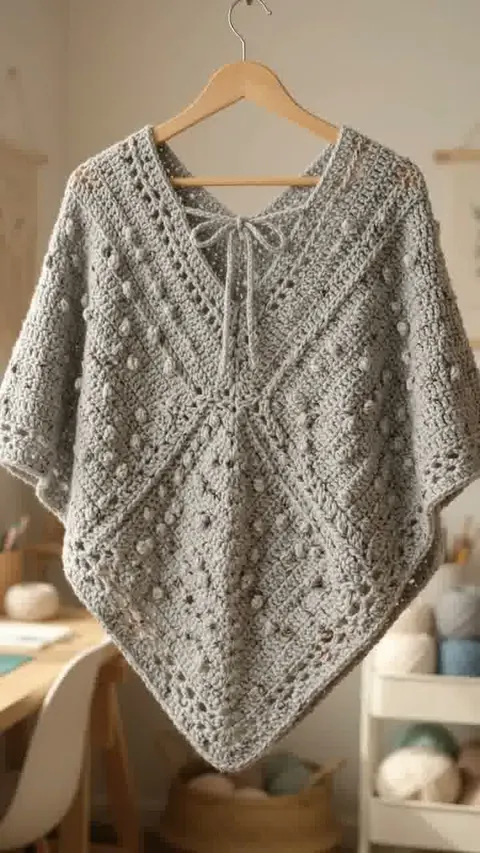
The illustration approximates the pointed shape and grey texture. Bobble placement and border proportions differ from the official photograph. The close-up shows generic edge work rather than the full texture repeat.
Read the material and size specifications
The Bernat PDF gives three bust groups: 28–38, 40–50 and 52–62 inches. It lists approximately 760, 945 and 1,140 yards of yarn respectively, with a 5.5 mm hook adjusted to gauge. The stated gauge is 12 double crochets and 7 rows over 4 inches. The photographed example uses Super Value.
Understand the construction
Two matching pieces form the poncho. Its repeating texture combines post stitches, bobbles and varied stitch heights. Neck and bottom finishing include eyelet rounds and reverse single crochet. A 40-inch drawstring is threaded through the neckline eyelets. The PDF's largest neck-to-point measurement differs between its text and schematic, so resolve that discrepancy before relying on the finished length.
Mark the repeat boundaries
Keep a row counter and a written note of the last row completed. In a textured fabric, it is easier to lose your place after a break than to see a mistake immediately. Compare the right side with an earlier repeat before adding several more rows.
Measure the two panels together
Lay the first completed panel beside the second when checking length and width. Match the same resting condition and measuring points. If one piece is noticeably different, investigate tension or row count before joining them.
Separate edging from body measurements
The finished neckline and lower border contribute to fit and appearance. Leave those measurements distinct in your notes and avoid stretching the eyelet edge to make the numbers fit. Use the official assembly diagram for seam placement rather than estimating it from the Reel.
Before You Start
Keep the official PDF, your measurements and your swatch notes together while planning the project.