
 Pin it
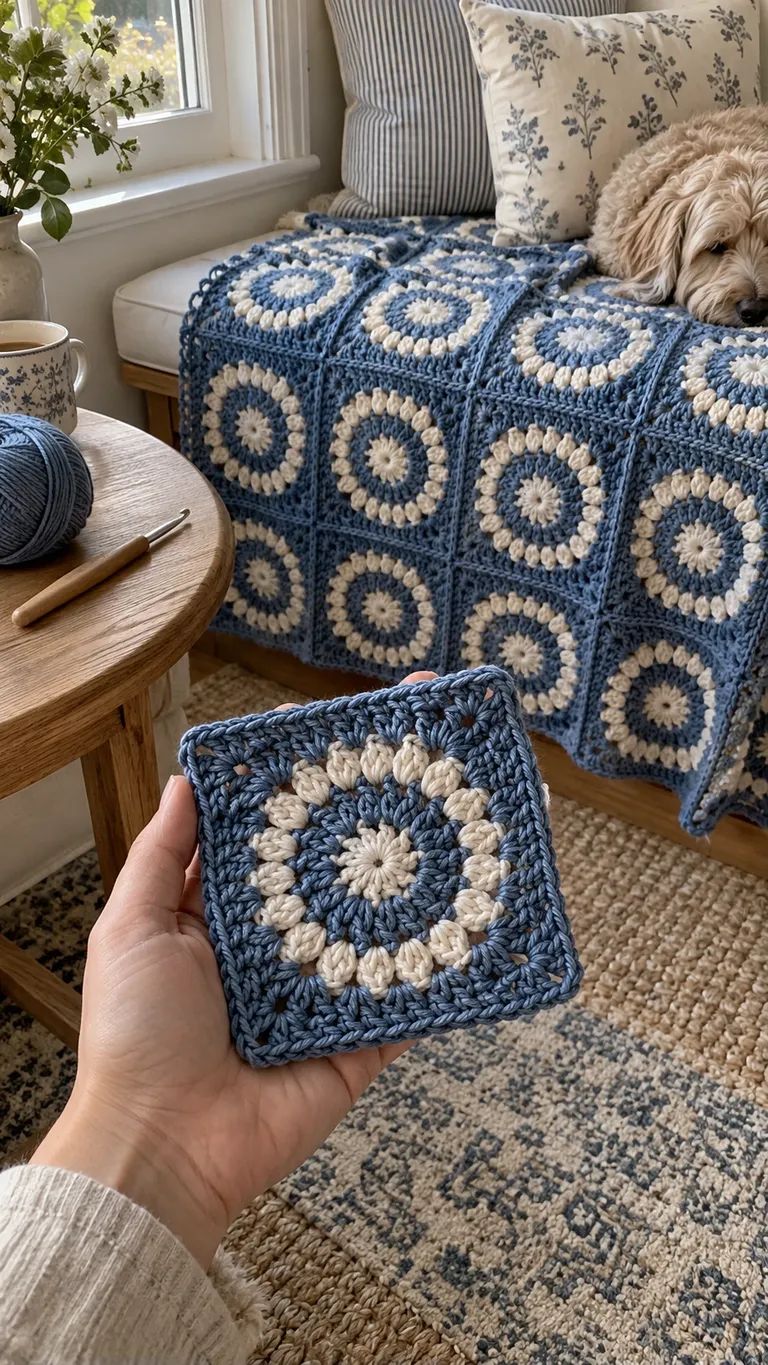
Round centers give a crochet blanket a repeated focal point, while square outer edges make the pieces easier to arrange in rows. Denim blue and soft white show that change of shape clearly: the light rings draw the eye inward and the blue surrounds connect the whole blanket.
About this design: The image and Reel are AI-generated design illustrations. This guide explains color, sampling and layout choices; it is not a tested pattern for the pictured motif. Choose a complete circle-to-square crochet pattern for the actual stitch instructions. The chain sample in the Reel demonstrates yarn handling, not how to construct the blanket.
Start with a pattern that includes the square
A circular motif needs deliberate shaping to become a square. Look for instructions that cover the round center, the transition rounds, all four corners and the finished edge. A photo alone cannot tell you the stitch counts or where increases belong. Do not add a guessed corner sequence to a round motif and assume it will lie flat.
Read the whole pattern before choosing yarn. Confirm whether it uses US or UK terms. This guide uses US terminology; the Craft Yarn Council abbreviation list can help you identify unfamiliar abbreviations. Keep any pattern-specific definitions beside your work.
Use the colors to define the shape
Compare the blue and white yarns in the room where you expect to use the blanket. A soft white may look warmer beside cream upholstery, while a bright white makes the contrast sharper. Use a small sample to judge the pairing rather than relying only on the yarn balls.
Try the same color sequence on two complete motifs. A pale center and another light ring can keep the circular form visible inside the blue square. Record which rounds use each color according to your chosen pattern. Keep yarn labels and dye-lot details so a later purchase or repair is easier to match.
Check the corners before making a stack
Let the first completed square rest on a flat surface. Check the four sides, corners and center without pulling the fabric into shape. Compare the stitch counts and corner placement with the pattern. If one side is shorter or the center cups noticeably, resolve the cause in this sample before repeating it.
Follow the yarn's care instructions and the pattern's finishing guidance, then measure the relaxed square again. Measure side length and the two corner-to-corner diagonals using the same landmarks. Record the results as observations of your sample, not as a universal gauge for this design.
Join a small group and measure again
Make a few matching squares and join them using the method specified by the pattern. Align the intended attachment points and keep the fabric supported on the table. A loose square and a joined group can behave differently, so judge the seam with the group lying flat.
Look at both sides of the join. If the seam pulls the corners together or creates a ridge you did not intend, check your tension, counts and joining method. Avoid stretching neighboring squares to force their edges to match. A border cannot reliably correct unequal units.
Plan the blanket for its resting place
Measure the bench, chair or bed area you want the blanket to cover, including any desired overhang. Use the joined sample to estimate how many repeats fit that area, then allow for the actual border in your pattern. Write down the planned arrangement before making the remaining pieces.
Lay completed squares out in rows before assembly. Check for an accidentally reversed color sequence and decide whether any visible handmade variation should be distributed across the blanket. A quick photograph and removable row labels can help preserve the arrangement while you join.
Finish and keep useful notes
Weave in ends following the construction and yarn you used, then check for loose tails or missed joins. Wash or shape the finished blanket only as recommended for the yarn. Support the weight of wet fabric and let it dry fully without stretching the corners.
Keep the pattern name, hook size, yarn labels, color sequence and joined-sample measurements together. These notes are more useful for making another blanket than trying to recover stitch counts from the finished photograph.
Before You Start
Keep the color sequence and corner shaping consistent. Base the layout on a relaxed joined sample and follow the yarn care instructions.
Pattern FAQs
Is this the complete pattern for the pictured blanket?
No. It is a design and sampling guide. Use a complete circle-to-square motif pattern for stitch counts, shaping and joining.
Standards & Sources
Terms and sizes in this pattern follow these standards.