
 Pin it
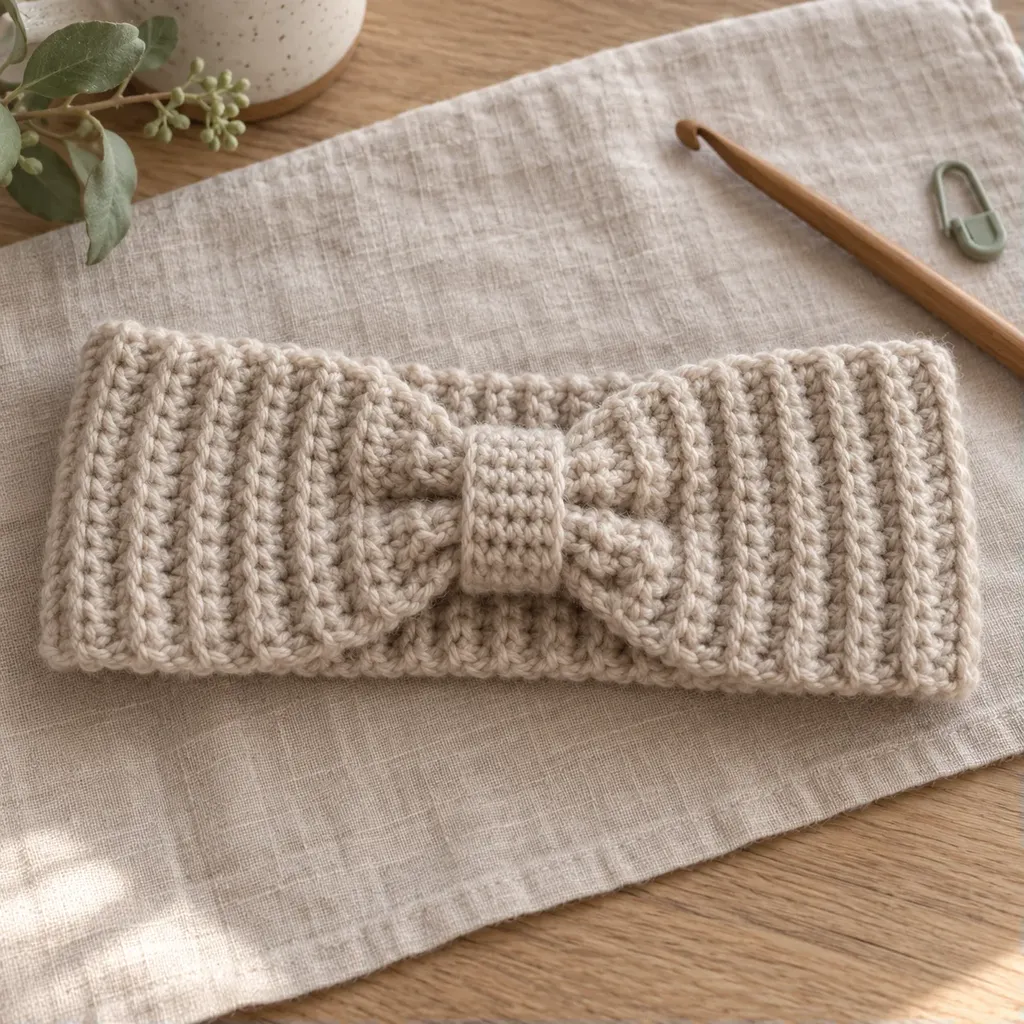
I like this easy crochet ear warmer headband pattern because it turns very simple rows into something polished. The ribbed fabric is worked flat, so there is no shaping to chase, and the little center wrap gives the front a soft cinched twist. Take your time on the seam, and the rest stays calm and steady.
Why you'll love it: this is a quiet, useful project with a neat ribbed look.
- Beginner friendly: the main band uses chains, single crochet, and back-loop rows.
- Quick payoff: one evening of rows makes a wearable piece.
- Easy to size: add or remove rows before seaming for a closer fit.
- Nice texture: back-loop stitches make flexible ribs without complicated stitch work.
- Simple finish: the center wrap hides the seam and shapes the front twist.
The band is crocheted as one flat rectangle, then the short ends are seamed into a twist. A small half double crochet wrap goes around the front to cinch the fabric and cover the join, so the finished ear warmer looks tidy from every angle.
Pattern details
Skill level Beginner
- Finished size
- About 4 in (10 cm) wide and 19-20 in (48-51 cm) around before stretch; child size about 17 in (43 cm) around
- Time to make
- 2-3 hours
- Yarn weight
- 4 · Medium
- Hook
- 5 mm (US H-8)
Gauge
12 sc and 15 BLO sc rows = 4 in (10 cm) in the main band fabric; row gauge controls the finished length.
Yarn
- Worsted weight (CYC 4) acrylic or wool blend in oatmeal, about 90 yd (82 m)
Materials
Abbreviations (US terms)
- BLO
- back loop only
- ch
- chain
- hdc
- half double crochet
- Row(s)
- row or rows
- sc
- single crochet
- st(s)
- stitch or stitches
Pattern notes
- The main band is worked flat in rows, then the short ends are seamed into a twist.
- The adult size uses 80 rows for the main panel; the older child size uses 68 rows.
- Measure the strip before seaming. It should be slightly snug because the ribbed fabric stretches.
- Use US crochet terms throughout.
Tap a round to tick it off. Your progress is saved on this device.
You're welcome to make and sell items from this free pattern. Please don't copy, translate or republish the pattern itself; share a link to this page instead.
 Save
SaveMake the ribbed headband panel
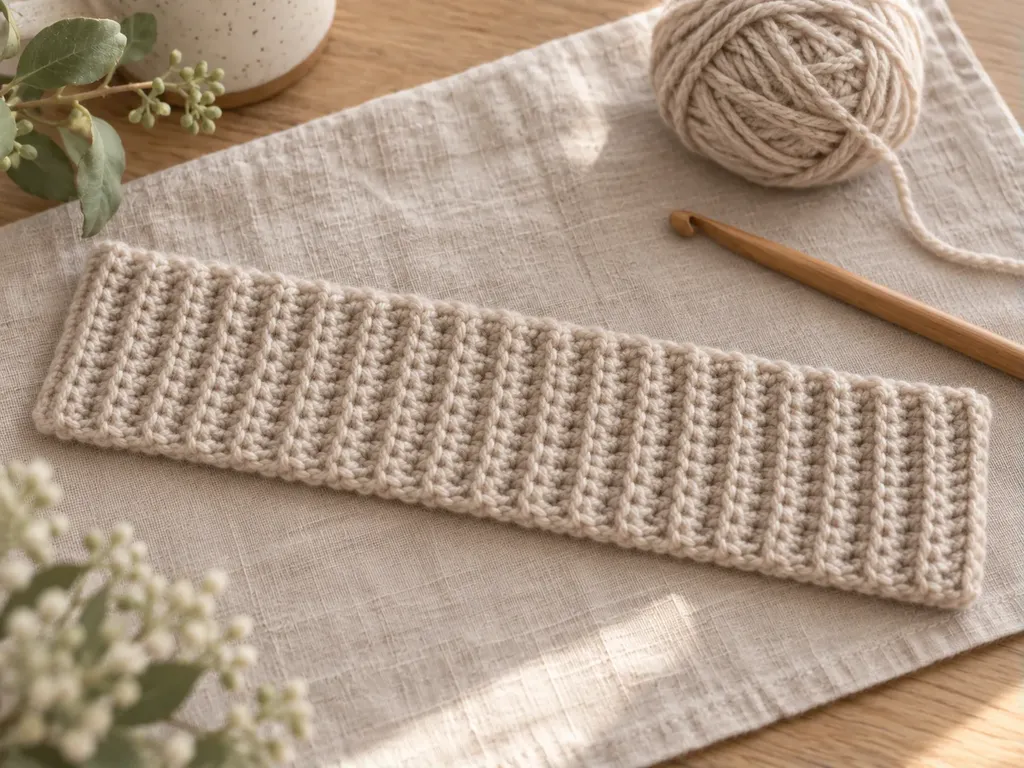
The main panel is a long, stretchy strip worked across the narrow width. Keep the first and last stitches even so the edges stay straight.
- Row 1: ch 13, sc in 2nd ch from hook and in each ch across (12)
- Rows 2-10: ch 1, turn, BLO sc in each st across (12)
- Rows 11-20: ch 1, turn, BLO sc in each st across (12)
- Rows 21-40: ch 1, turn, BLO sc in each st across (12)
- Rows 41-60: ch 1, turn, BLO sc in each st across (12)
- Rows 61-80: ch 1, turn, BLO sc in each st across (12)
- Fasten off with a long tail for seaming.
 Save
SaveSeam the short ends for the twist
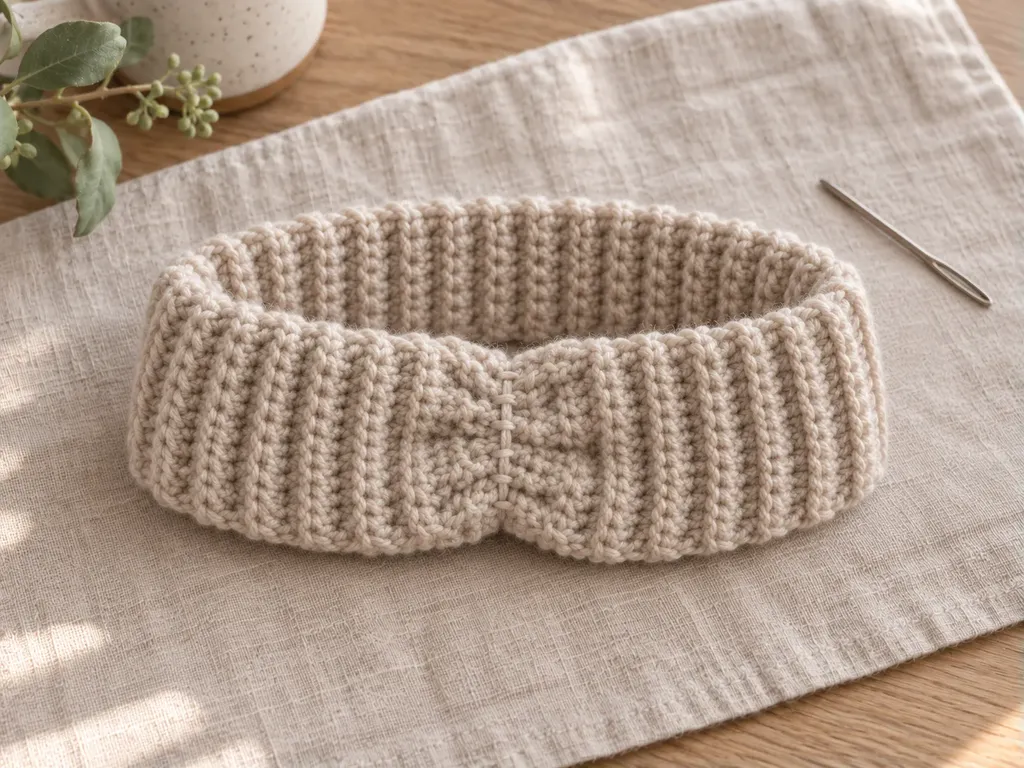
This seam creates the gathered twist at the front. Use the long tail and a tapestry needle, and sew slowly through all layers so the join feels secure.
- Lay the panel flat with the ribs running across the width.
- Fold each short end in half widthwise.
- Nest the folded ends together like a sandwich, alternating the layers from one end and the other.
- Whipstitch through all four layers from one side to the other, then turn the seam to the inside.
 Save
SaveMake the center wrap
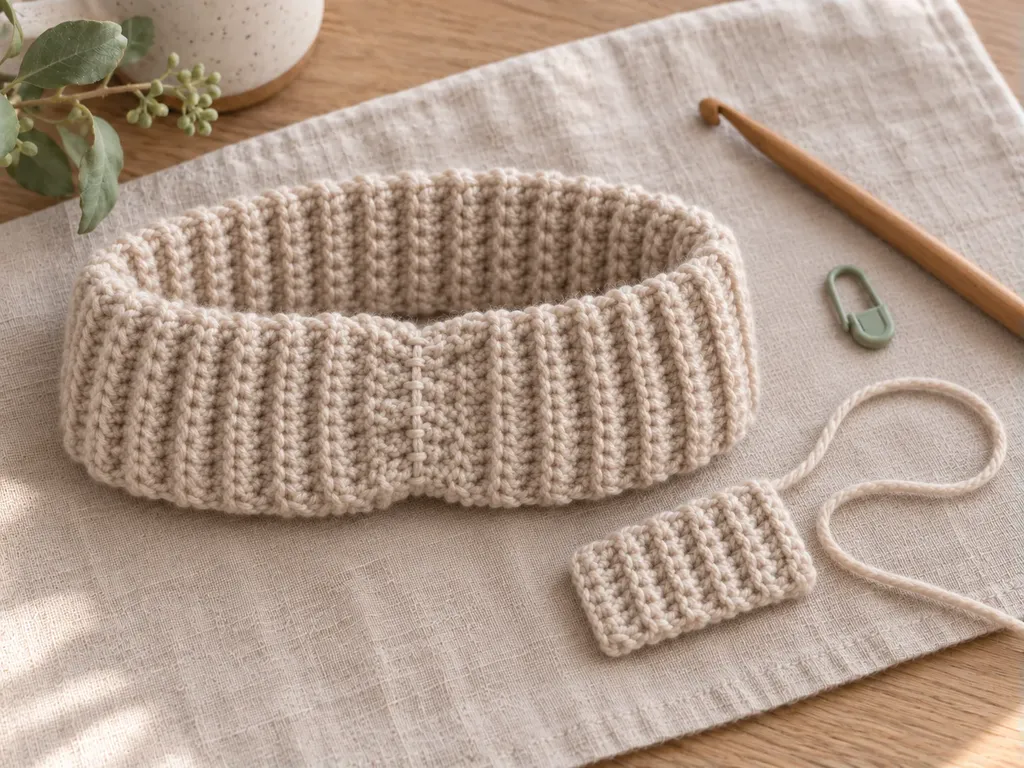
The center wrap is a small half double crochet strip. It should be long enough to circle the cinched seam without squeezing the band too hard.
- Row 1: ch 7, hdc in 3rd ch from hook and in each ch across (5)
- Rows 2-8: ch 1, turn, BLO hdc in each st across (5)
- Fasten off, leaving a 12 in (30 cm) tail for sewing.
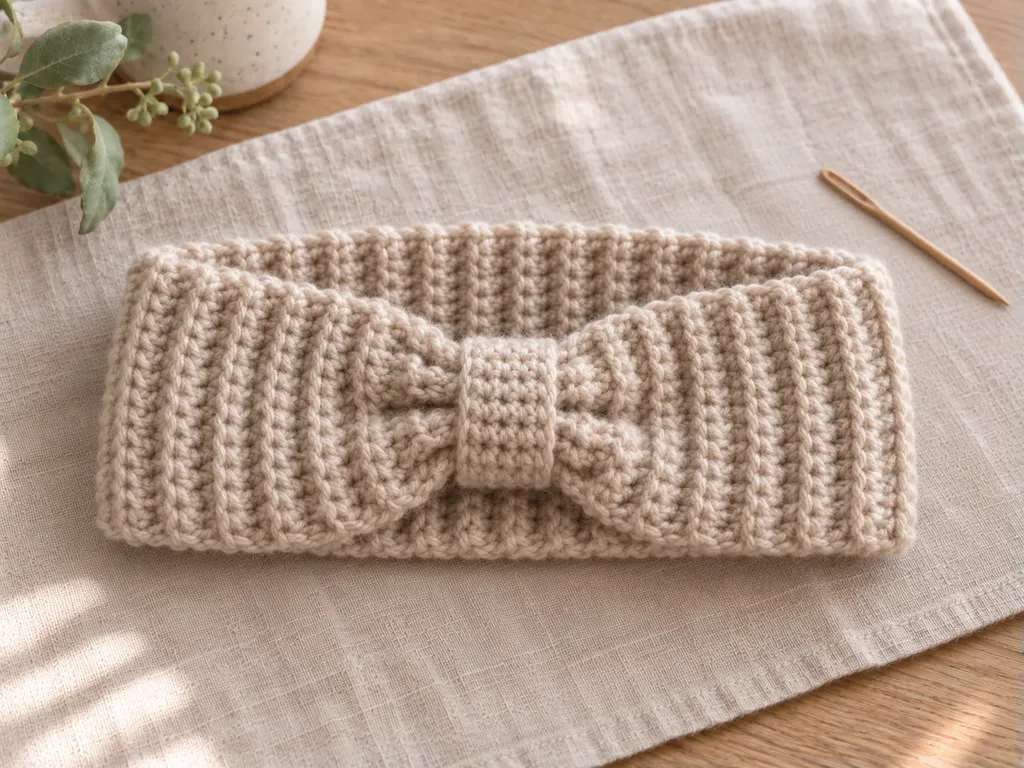 Save
SaveCinch the front
Pinch the seamed area gently so the ribs fold into a soft twist. Wrap the small strip around the center, overlap its short ends on the inside, and sew the overlap firmly with the yarn tail.
- Place the center wrap over the seam.
- Bring the wrap ends to the inside of the band.
- Sew the wrap ends together without catching the whole band too tightly.
- Weave the tail through the wrap several times for a neat hold.
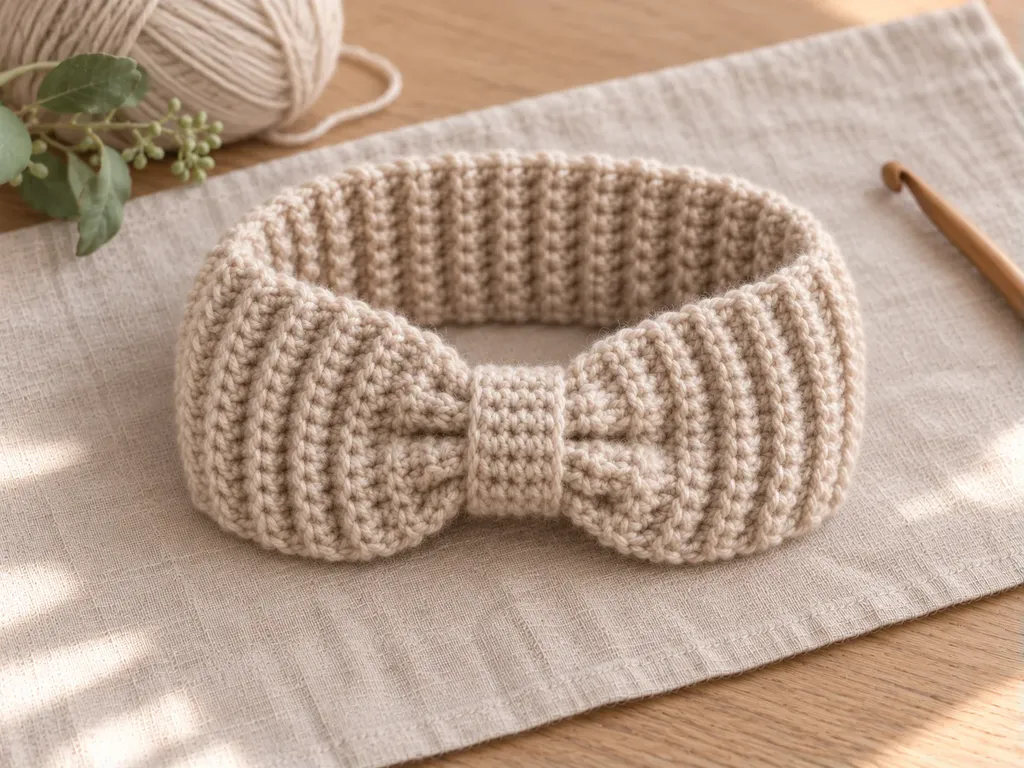 Save
SaveFinish and shape the ear warmer
Weave in every end on the inside of the headband. Smooth the ribs with your hands, then try the ear warmer on and shift the twist until it sits comfortably at the front.
- Check that the seam is covered by the center wrap.
- Trim yarn tails only after they are woven in securely.
- Lay the band flat overnight if the edges want to curl.
Before You Start
This is the kind of simple crochet accessory I like to keep close by: steady rows, a useful finish, and enough texture to look thoughtful. Make one in a soft neutral first, then try a deeper winter color or a shorter child-size version once the row rhythm feels easy.
Pattern FAQs
How do I make this ear warmer child size?
Work the main panel through Row 68 instead of Row 80, then seam and finish it the same way. That gives about 17 in (43 cm) around before stretch with the same gauge. For the best fit, hold the strip around the head before sewing the twist seam.
Why are the main rows worked in BLO?
BLO sc makes the ribbed texture without adding a complicated stitch pattern. By working only through the back loop, each row leaves a raised line on the fabric. The result is flexible, soft, and forgiving, which is helpful when the ear warmer needs to stretch comfortably around the head.
Can I use bulky yarn instead of worsted weight yarn?
You can, but the size will change quickly. Bulky yarn makes a wider, thicker band, so start with fewer chains for the width and stop the length sooner. Make a small gauge swatch first, then measure the strip around the head before you seam the short ends.
What if my headband is too loose after seaming?
If the band feels loose before adding the center wrap, undo the seam and remove a few rows from the main panel. Try taking out 4 rows at a time. The ribbed fabric has stretch, so a slightly snug fit before seaming usually wears better than a relaxed one.
Do I need the half double crochet center wrap?
The center wrap is useful because it hides the twist seam and keeps the front cinch in place. If you prefer a flatter look, you can make the wrap in sc instead, using the same 5-stitch width. Keep it just long enough to circle the seam neatly.
How can I keep the edges from curling?
Keep your turning chain relaxed and avoid pulling the first stitch of each row too tight. After finishing, smooth the band flat with your hands and let it rest overnight. If the yarn allows gentle blocking, a light mist and flat drying can help the ribbed edges settle.
Standards & Sources
Terms and sizes in this pattern follow these standards.