
 Pin it
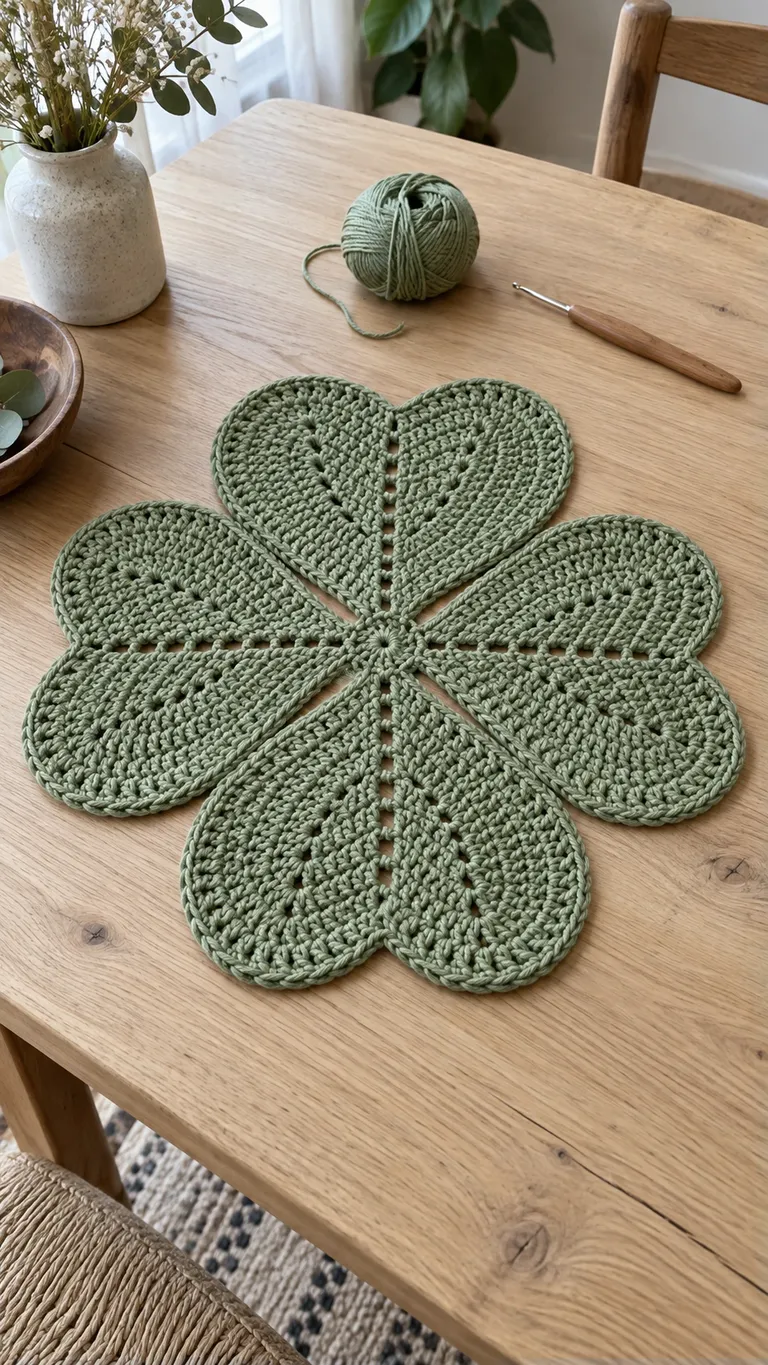
A muted green mat brings a little leaf shape to a pale wooden table. Four broad, heart-shaped sections meet at a compact center, so the outline matters as much as the stitch texture. A balanced arrangement and a relaxed edge help each leaf sit naturally beside its neighbors.
About this design: The image and Reel are AI-generated design illustrations. This guide covers planning, sampling and finishing; it is not a tested row-by-row pattern for the pictured mat. Choose a complete leaf or four-leaf motif pattern for the actual stitch instructions. The short chain in the Reel is a yarn-handling sample, not the full construction method.
Choose yarn that shows the outline
A smooth yarn makes the leaf edges and center lines easier to see. Begin with the yarn and hook size recommended by your chosen pattern, then make a sample before changing either. A very fuzzy yarn may soften the outline you are trying to create, while a firm yarn can emphasize every change in tension.
Compare the sage shade with the table in daylight. Green yarn can appear gray beside cool white surfaces or warmer beside golden wood. Keep the sample in the intended room for a day before committing to a larger piece. Use yarn from the same dye lot where possible and note the label information.
Make the sample do useful work
A short foundation chain lets you get used to the yarn and hook, but it does not tell you the finished size of a leaf. Work a complete small sample in the actual stitch pattern as well. Follow the yarn's care instructions, let the sample dry, and measure it without stretching.
Record the widest part and the length from the base to the outer tip. If the pattern includes a center opening or a visible ridge, check that these details remain consistent as the work relaxes. Use the finished sample to judge whether the fabric has the softness and definition you want.
Balance four leaves around the center
If your selected pattern uses separate leaf pieces, lay them out before joining. Place their bases toward the center and compare opposite pairs. The outside edges should make a balanced four-part outline, with similar gaps between neighboring leaves. Turn all pieces to the intended right side before checking them.
If the pattern is worked as one continuous motif, pause at the end of each repeated section and check its orientation against the previous one. Follow the written increase and turning instructions rather than adding stitches just to imitate the illustration. A photograph cannot provide dependable stitch counts.
Keep the center comfortable
The center should hold the sections together without becoming a hard lump. With a separate-piece construction, test the specified join on a small area and inspect the back. Spread the work on the table between steps. Pulling the joining yarn tightly can draw the leaf bases inward and lift the outer sections.
Leave enough yarn for secure finishing, following your pattern's instructions. Route ends through appropriate stitch paths rather than bunching every end into the same tiny space. Check the underside as you finish so that loose ends do not interrupt the way the mat rests.
Check flatness before blocking
Place the unfinished piece on a flat surface with the yarn relaxed. Look for a curled edge, a cupped center or a wavy outline. First compare the work with the pattern and count the relevant stitches. Blocking can help the finished fabric settle, but it should not be used to conceal a missed repeat or an incorrect increase.
When the crochet is correct, finish according to the yarn manufacturer's care guidance. Arrange the four leaves evenly and avoid pulling one section harder than the others. Let the mat dry completely before removing any supports. Check the outline again after it has rested on the table.
Keep the project notes
Save the pattern name, yarn label, hook size, sample measurements and any deliberate changes. Photograph the relaxed finished shape from above. That record is more useful for making a matching piece than a stretched measurement or an estimate from the design image.
This guide uses US crochet terminology. Consult the Craft Yarn Council abbreviation list and pattern-reading guide when checking an unfamiliar instruction.
Before You Start
Use a complete motif pattern, record the finished sample measurements, and follow the yarn care instructions when shaping the mat.
Pattern FAQs
Is this a complete stitch-by-stitch pattern?
No. It is a design and finishing guide. Use a complete motif pattern for the stitch counts and construction instructions.
Standards & Sources
Terms and sizes in this pattern follow these standards.