
 Pin it
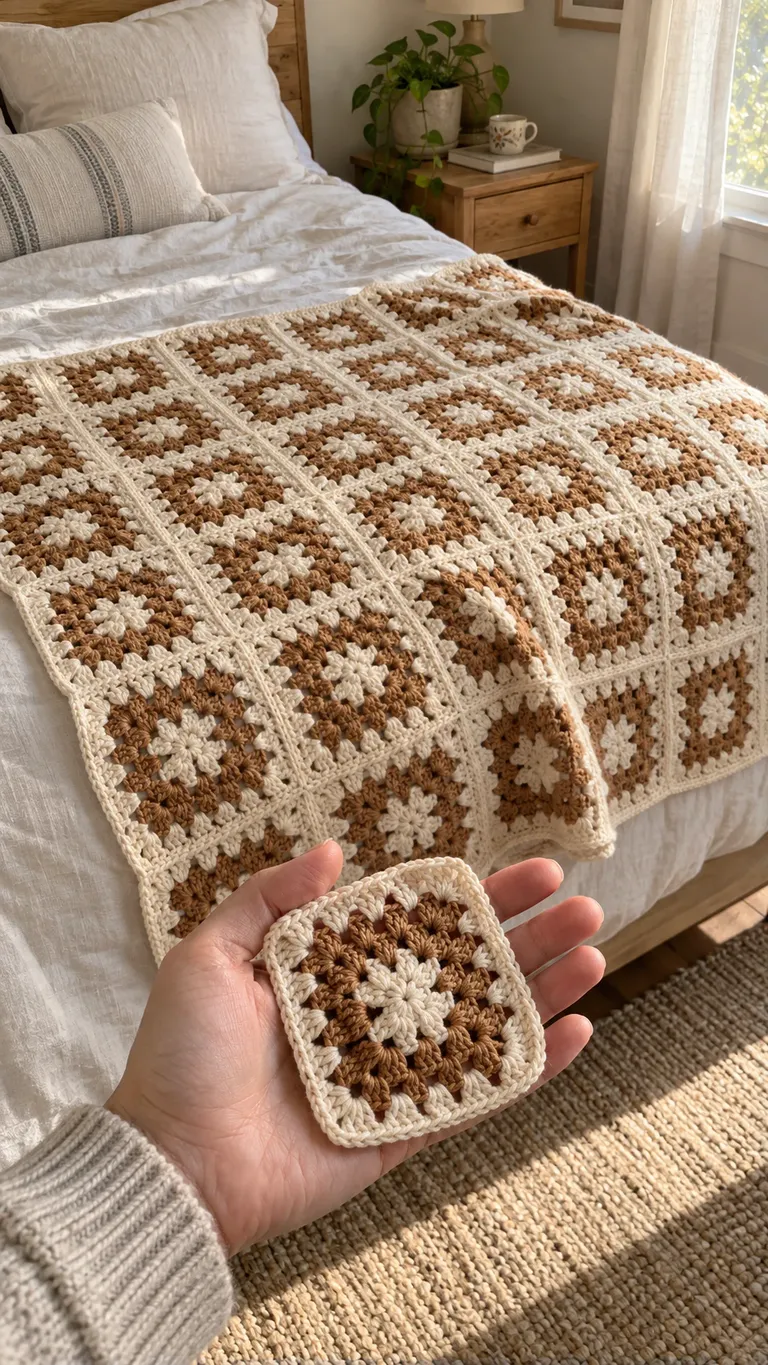
Caramel gives a neutral throw depth, while a cream outer round creates a quiet frame around each motif. Repeating that frame across the blanket can make a mixed layout feel deliberate. The useful first step is a small joined sample: it shows how the colors, seams and fabric behave together before you commit to a blanket.
About this design: The hero image is an AI-generated illustration. This is a color, sizing and assembly guide, not an exact tested pattern for the pictured motif. Use a complete motif pattern with verified stitch counts for the crochet work.
Build the palette with one motif
Start with two shades from the same yarn range if possible. A warm cream and a medium caramel give enough contrast to show the rounds without making the overall blanket look busy. Work one motif in your chosen pattern, keeping a written record of each color change. Compare it with a second sample that reverses the light and dark placement.
Look at both samples in the room where the throw will live. A warm lamp can change the way a pale yarn appears. Pick the version that still separates the center, middle rounds and edge in ordinary daylight. Keep a small labeled length of each yarn with your notes.
Measure after finishing the sample
Follow the yarn's care instructions when washing or blocking your sample. Measure it after it has dried and relaxed. A measurement taken while pulling the corners apart will not describe the fabric as it normally rests.
Join four matching motifs into a two-by-two sample using your intended seam. Measure that sample too. The join may change the size and flexibility of the finished fabric, so a loose square alone is not enough for a dependable blanket estimate.
For an initial layout, divide the planned blanket width by the measured motif width, then round to a practical whole number of motifs. Do the same for the length. Check that estimate against the joined sample and allow for the final border. For example, six 6-inch motifs suggest roughly 36 inches before accounting for the join and border; they do not guarantee a 36-inch finished blanket.
Arrange everything before joining
Lay the completed motifs on a clean surface. Put the chosen right side facing up and orient any directional details consistently. If you are mixing color orders, distribute the darker centers across the layout rather than allowing them to collect in one corner. Photograph the arrangement and label each row with a removable marker.
Check that corresponding sides have compatible stitch counts before joining them. A larger motif should not be forced onto a smaller neighbor by pulling the yarn tight. Resolve differences in the individual pieces first.
Test the seam on a small section
Choose a joining method appropriate to your motif pattern. A visible cream seam can become part of the design; a lower-profile seam leaves more attention on the motifs. Compare a short sample before deciding. Keep seam tension relaxed enough that the fabric can lie flat, then inspect both sides.
Join in a consistent order and check the work on a flat surface after each section. If the seam puckers, stop and compare your tension and stitch placement with the sample. A border is not a reliable way to hide an uneven assembly.
Finish with a restrained edge
Choose a border designed for your motif layout and yarn. A narrow cream edge can echo the outer motif rounds. Check the corners and the joins as you work: the edge should rest comfortably without forcing the blanket into waves or pulling its sides inward. Weave in ends securely, follow the yarn's care directions, and let the finished throw dry fully before folding or storing it.
Keep the useful notes
Save the yarn name, dye lot, hook size, finished sample measurements, motif count, color sequence and joining method. Those details make it easier to repair a section or make a matching cushion later. Record actual yarn use during your project rather than relying on an estimate from a photograph.
This guide uses US crochet terminology. For abbreviation meanings and help reading repeats, see the Craft Yarn Council abbreviation list and its pattern-reading guide.
Before You Start
Keep your sample, color sequence, finished measurements and seam notes together so you can repeat the result.
Pattern FAQs
Is this the exact pattern for the pictured throw?
No. This is a color, sizing and assembly guide. Use a complete motif pattern with verified stitch counts for the crochet work.
Standards & Sources
Terms and sizes in this pattern follow these standards.