
 Pin it
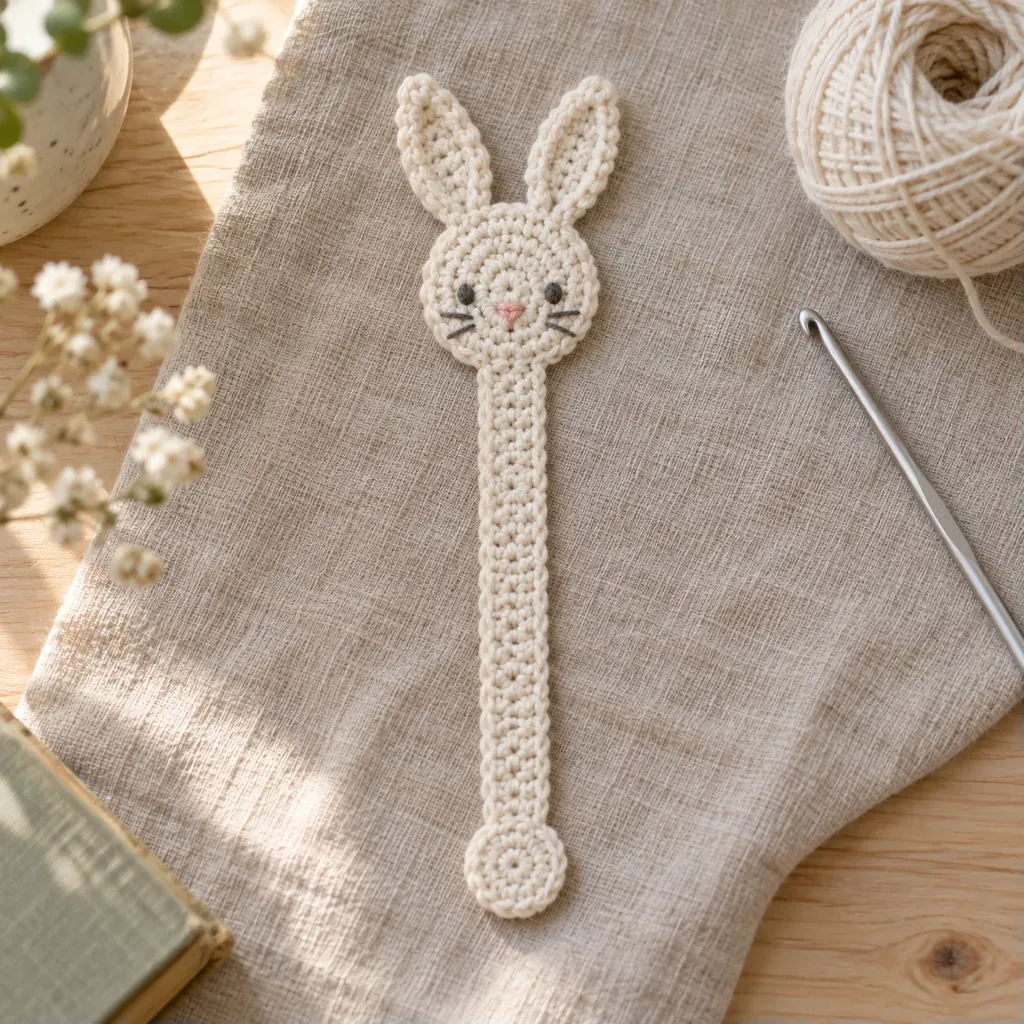
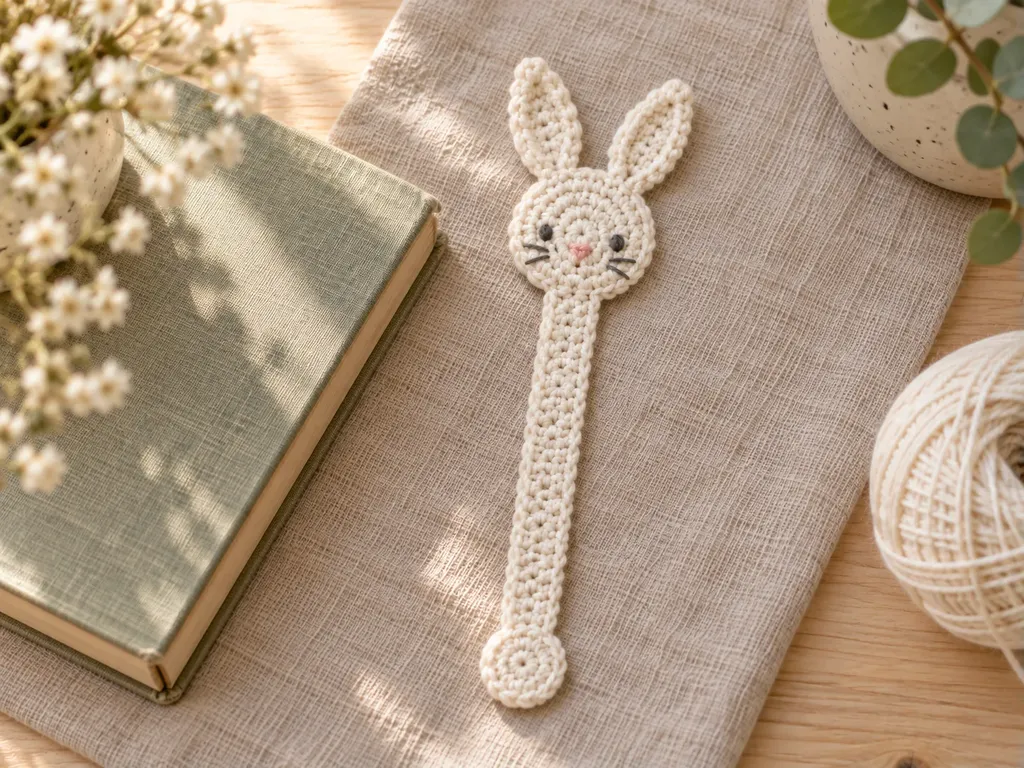
I like this bunny bookmark crochet pattern because it is slim enough for a paperback but still has a sweet little face. The head is a flat circle, the ears are tapered rows, and the body is a neat cotton ribbon. It is a good small project for practicing tidy stitches and gentle shaping.
Why you'll love it:
- Small and useful: the finished piece tucks neatly into most books.
- Scrap friendly: fine cotton gives clear stitches without much yardage.
- Good practice: you use spiral rounds, simple rows, increases and decreases.
- Low bulk: the head and tail stay flat so pages close comfortably.
- Easy to personalize: change the body length or stitch the face in a different color.
The bookmark is built from separate flat pieces, then sewn together in a clean stack. I use embroidered features instead of safety eyes so the bookmark stays soft and smooth between pages.
Pattern details
Skill level Easy
- Finished size
- About 10.5 in (27 cm) long and 2.25 in (6 cm) wide at the head
- Time to make
- 1.5-2 hours
- Yarn weight
- 2 · Fine
- Hook
- 2.75 mm (US C-2)
Gauge
24 sc and 28 rows = 4 in (10 cm) in sc with the 2.75 mm hook; exact gauge is not critical for a bookmark.
Yarn
- Fine weight (CYC 2) cotton in cream, about 35 yd (32 m)
- Fine weight (CYC 2) cotton in blush, about 4 yd (4 m)
- Fine weight (CYC 2) cotton in charcoal, about 2 yd (2 m)
Materials
Abbreviations (US terms)
- ch
- chain
- inc
- increase: 2 sc in the same stitch
- Rnd(s)
- round or rounds
- Row(s)
- row or rows
- sc
- single crochet
- sc2tog
- single crochet 2 stitches together
- sl st
- slip stitch
- st(s)
- stitch or stitches
Pattern notes
- This pattern uses US crochet terms.
- The head and tail are worked in spiral rounds, then joined with a slip stitch before fastening off.
- The ears and ribbon body are worked in rows.
- Embroider the face before assembly so the yarn tails can be hidden on the back.
Tap a round to tick it off. Your progress is saved on this device.
You're welcome to make and sell items from this free pattern. Please don't copy, translate or republish the pattern itself; share a link to this page instead.
 Save
SaveMake the bunny head
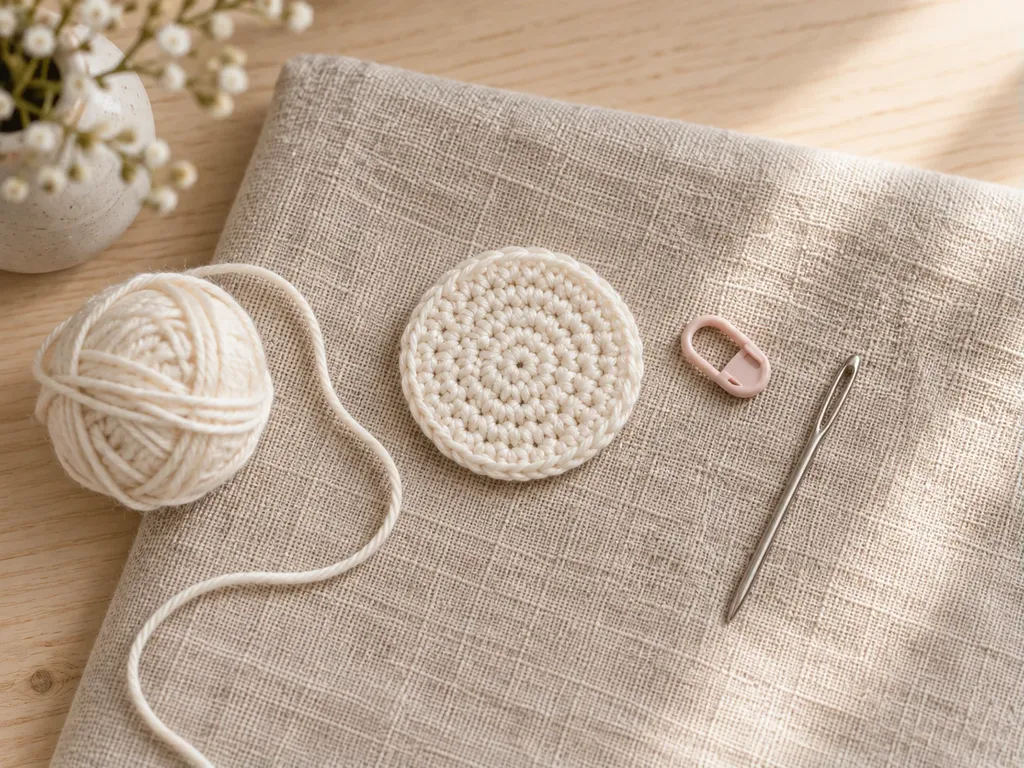
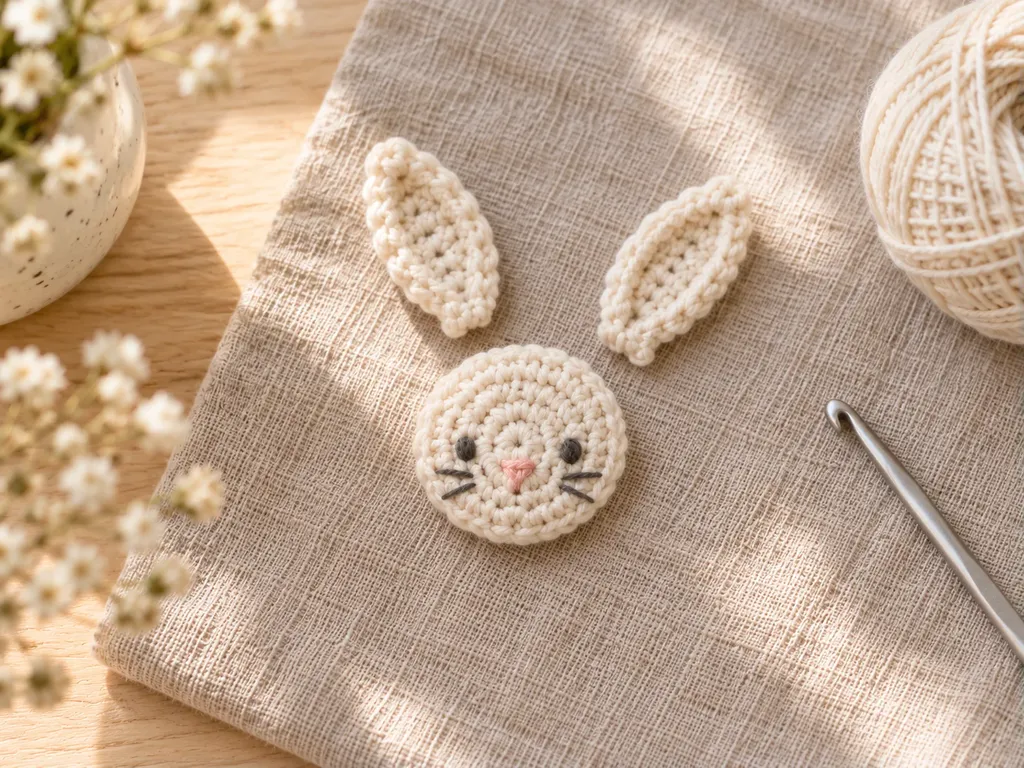
The head is a small flat circle worked in spiral rounds. Keep the first round snug so the center closes neatly.
- Rnd 1: 6 sc in magic ring (6)
- Rnd 2: inc in each st around (12)
- Rnd 3: (sc, inc) x 6 (18)
- Rnd 4: (sc 2, inc) x 6 (24)
- Rnd 5: sc, inc, (sc 3, inc) x 5, sc 2 (30)
- Rnd 6: sc in each st around (30)
- sl st to first sc to join, then fasten off, leaving a 10 in (25 cm) tail for sewing.
 Save
SaveMake the ears (make 2)
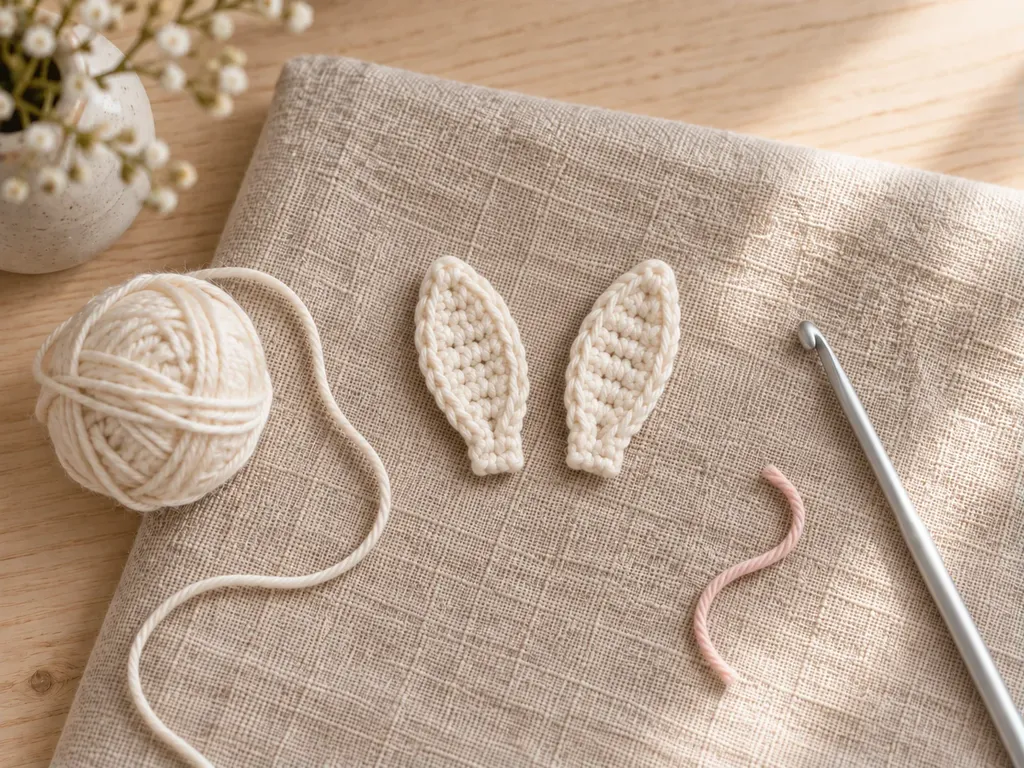
Each ear is worked from the base to the tip in short rows. Make two matching ears, then flatten them before sewing.
- Row 1: ch 8, sc in 2nd ch from hook and in each ch across (7)
- Rows 2-3: ch 1, turn, sc in each st across (7)
- Row 4: ch 1, turn, sc2tog, sc 3, sc2tog (5)
- Row 5: ch 1, turn, sc in each st across (5)
- Row 6: ch 1, turn, sc2tog, sc, sc2tog (3)
- Row 7: ch 1, turn, sc in each st across (3)
- Row 8: ch 1, turn, sc2tog, sc (2)
- Row 9: ch 1, turn, sc2tog (1)
- Fasten off, leaving a 10 in (25 cm) tail on each ear for sewing.
 Save
SaveCrochet the ribbon body
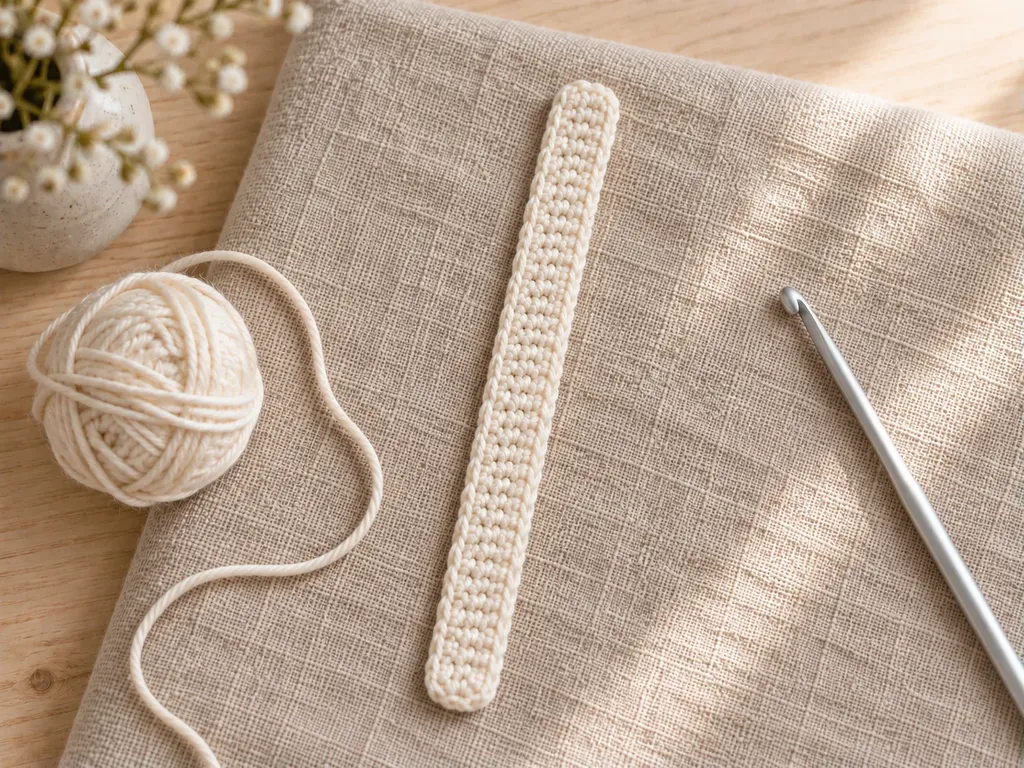
The body is a long, slim strip that slips between the pages. Work the rows evenly and do not pull the turning chains too tight.
- Row 1: ch 46, sc in 2nd ch from hook and in each ch across (45)
- Rows 2-4: ch 1, turn, sc in each st across (45)
- Fasten off, leaving a 12 in (30 cm) tail at one short end for sewing to the head.
 Save
SaveMake the little tail
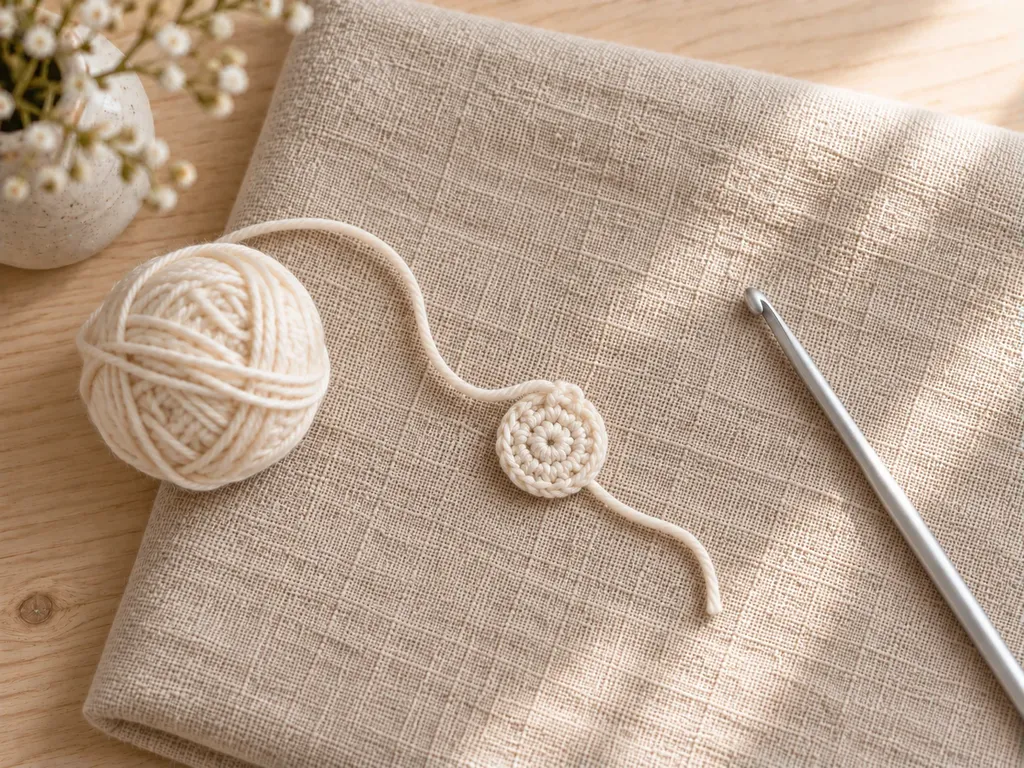
The tail is a tiny flat circle for the lower end of the bookmark. It adds weight without making the strip bulky.
- Rnd 1: 6 sc in magic ring (6)
- Rnd 2: inc in each st around (12)
- Rnd 3: sc in each st around (12)
- sl st to first sc to join, then fasten off, leaving an 8 in (20 cm) tail for sewing.
 Save
SaveEmbroider the face
Use small stitches and keep the back of the head tidy. The face should sit on the lower half of the circle so the ears have room at the top.
- With charcoal cotton, stitch two small eyes between Rnds 4 and 5, about 5 sts apart.
- With blush cotton, stitch a tiny nose centered one round below the eyes.
- Add two short whisker stitches on each side, then weave the ends through the back of the head.
 Save
SaveAssemble and finish the bookmark
Lay everything flat before sewing so the bookmark stays balanced. Use the long yarn tails and keep your stitches small.
- Sew the ears to the back top edge of the head, placing them about 3 sts apart.
- Sew the ribbon body to the lower back of the head, centered under the face.
- Sew the tail to the lower end of the ribbon body.
- Weave in every end, then lightly steam or pin the bookmark flat if the cotton curls.
Before You Start
This little bookmark is a calm way to turn a few yards of fine cotton into something useful. Try cream and blush first, then make a gray, caramel or soft sage bunny when you want a different look.
Pattern FAQs
Can I make this bunny bookmark with worsted weight yarn?
You can, but the bookmark will be thicker and wider than the fine cotton version. Use a hook that makes a firm fabric, and expect the finished length and head size to grow. For a book bookmark, I prefer fine cotton because it sits flatter between pages.
Why is the head worked in rounds if the bookmark is flat?
The spiral rounds make a neat, round applique without stuffing. Rnd 6 holds the edge firm, while the earlier increase rounds create the circle. After fastening off, flatten the head with your fingers before sewing on the ears and ribbon body.
My ribbon body twists. How can I fix it?
A little twist often comes from tight turning chains or uneven tension in the first row. Smooth the strip on a towel, pin the corners lightly, and let it rest until dry if you dampen it. On the next bookmark, keep the starting chain relaxed.
Can I make the bookmark longer or shorter?
Yes. Change the starting chain for the ribbon body. Add chains for a longer bookmark or remove chains for a shorter one, then remember that Row 1 will have one fewer stitch than the number of chains you made. Keep Rows 2-4 at that same count.
How do I keep the embroidered face neat on the back?
Use short embroidery stitches and avoid carrying yarn across large gaps on the back of the head. After each feature, weave the yarn tail under nearby stitches instead of knotting it heavily. A tidy back helps the head sit smooth against the page.
Do I need to add the little tail?
The tail is optional, but I like the small bit of weight it adds to the end of the ribbon body. If you skip it, weave in the lower yarn tail carefully and flatten the end. You can also replace it with a short yarn tassel for an older reader.
Standards & Sources
Terms and sizes in this pattern follow these standards.