
 Pin it
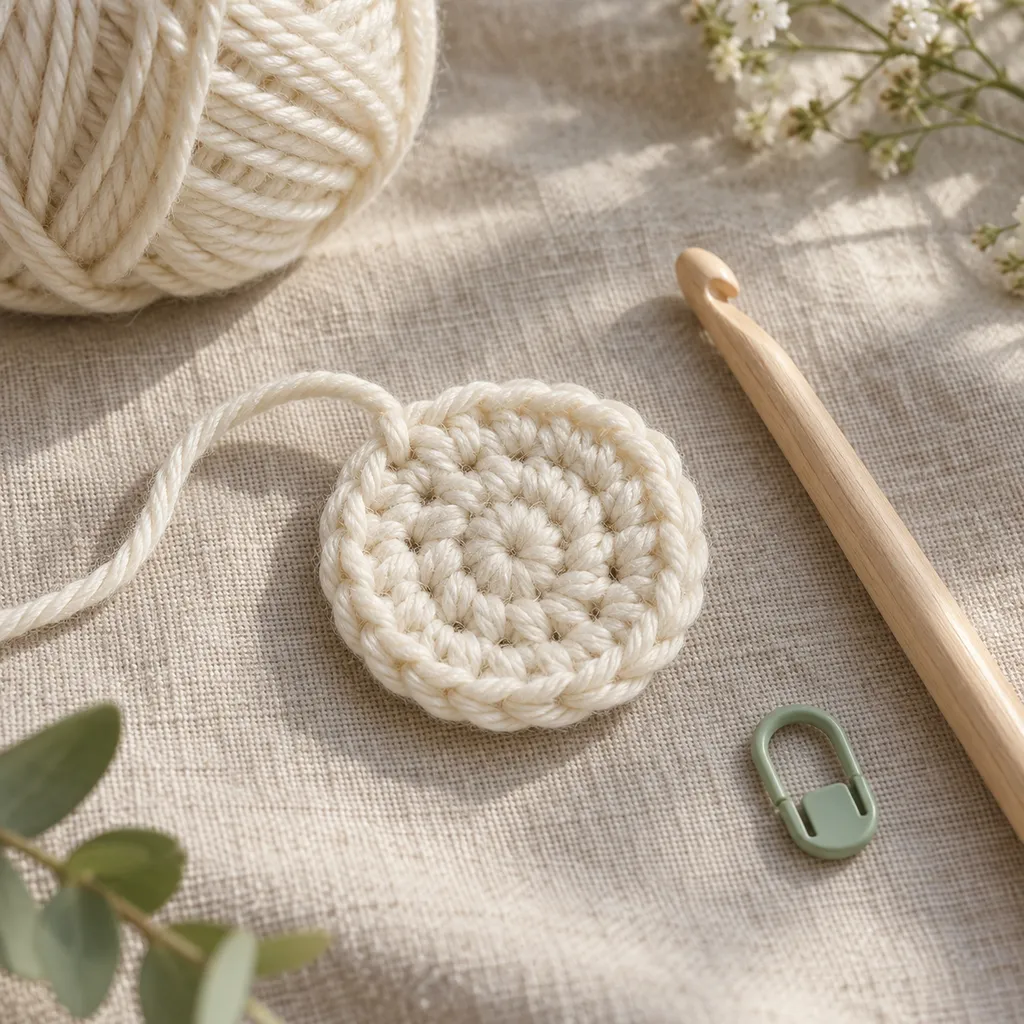
How to crochet a magic ring for amigurumi is one of the most useful first skills for tiny toys, round heads, and soft stuffed shapes. You will make an adjustable loop, crochet into that loop, then pull the center closed so the first round starts neat and snug. This tutorial uses US crochet terms, with common abbreviations aligned to the Craft Yarn Council crochet abbreviations.
What you'll need:
- Yarn: smooth worsted or DK yarn in a light color so you can see each stitch.
- Hook: the hook size suggested on your yarn label, or one size smaller for amigurumi fabric.
- Stitch marker: helpful for marking the first stitch of each round.
- Tapestry needle: useful later for weaving in the starting tail.
- Good light: bright natural light makes the first round easier to count.
 Save
SaveHold the yarn and make the loop
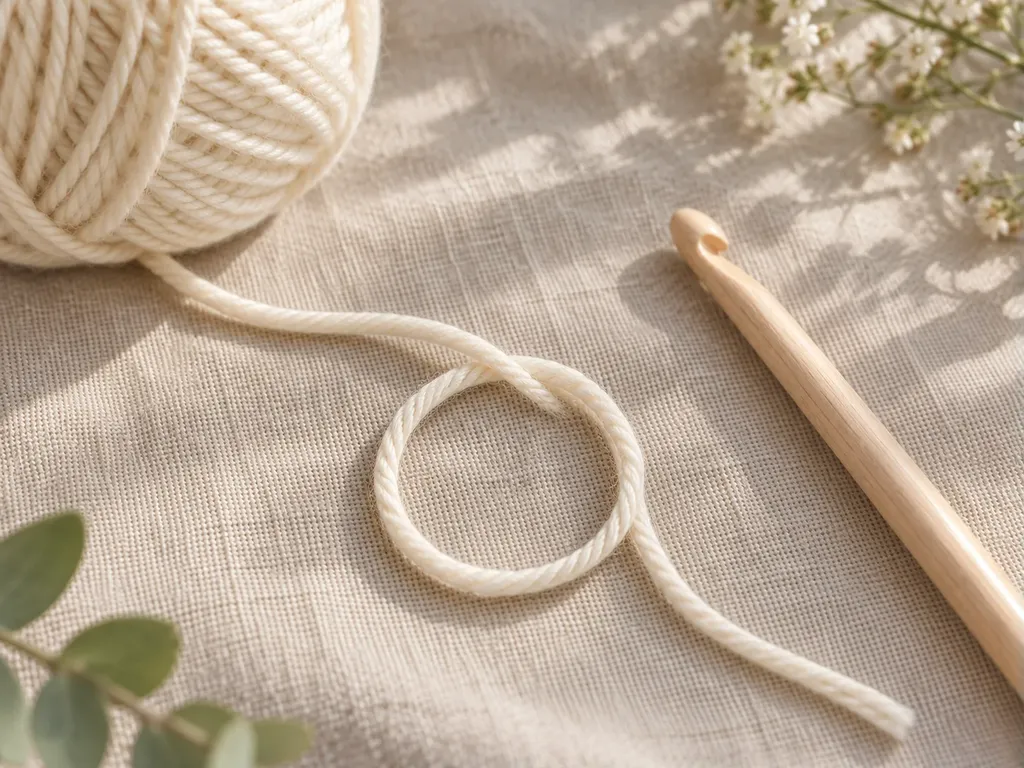
Lay the yarn tail across your non-hook hand with the tail pointing toward you. Wrap the working yarn over two fingers to make a loose loop, then cross the working strand over the tail so the loop can adjust later.
- Keep the tail at least 6 in (15 cm) long.
- Hold the crossing point gently so the loop does not twist.
- The working yarn should still move freely from the yarn ball.
 Save
SaveInsert the hook and pull up the first loop
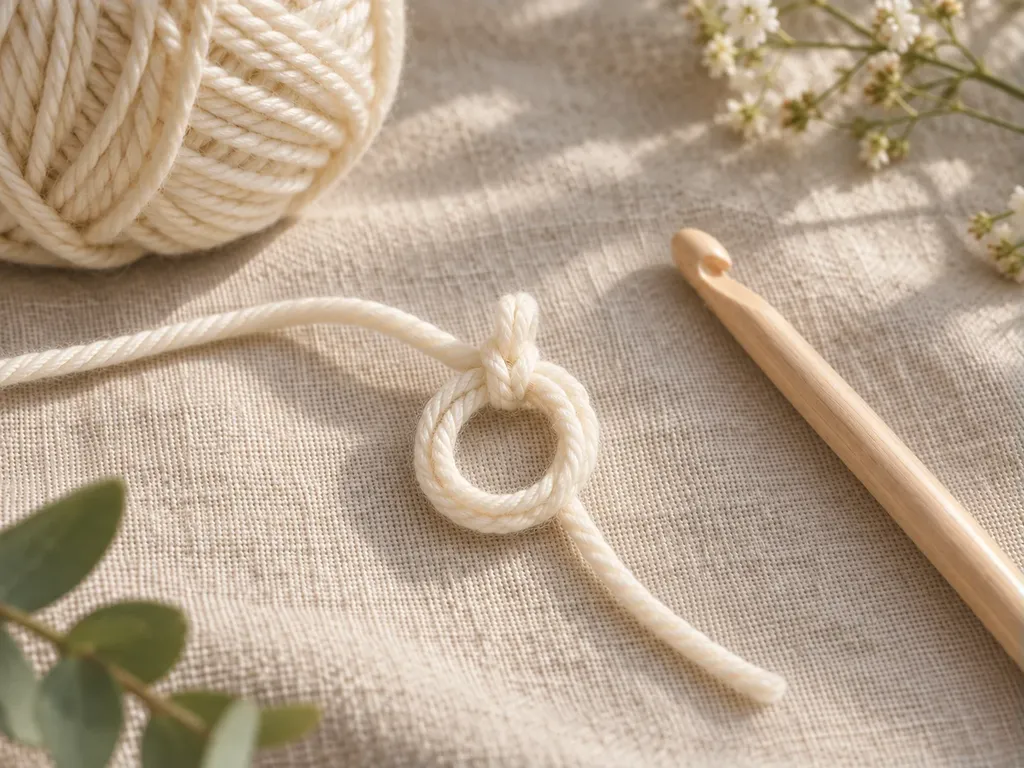
Slide the hook under the front strand of the ring and catch the working yarn from behind the loop. Pull that yarn through the ring to bring up one loop on your hook.
- This pulled-up loop is not counted as a stitch.
- If the ring slips open, pinch the crossed strands closer to the hook.
- Keep the loop relaxed enough that the hook can move smoothly.
 Save
SaveChain one to lock the ring
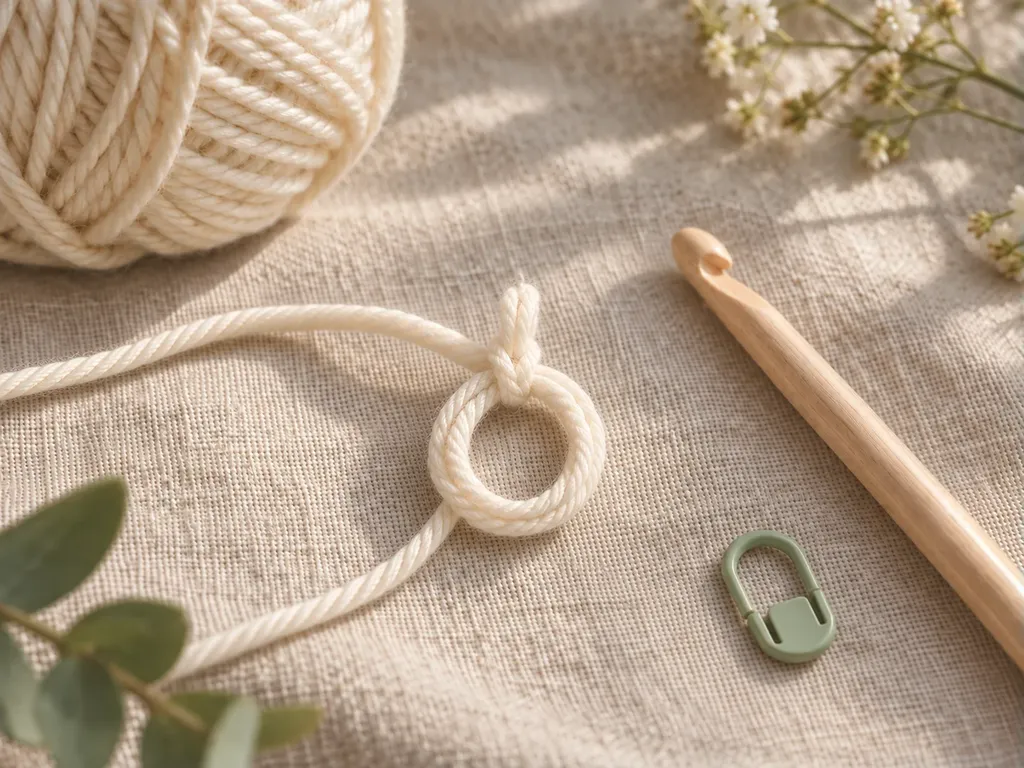
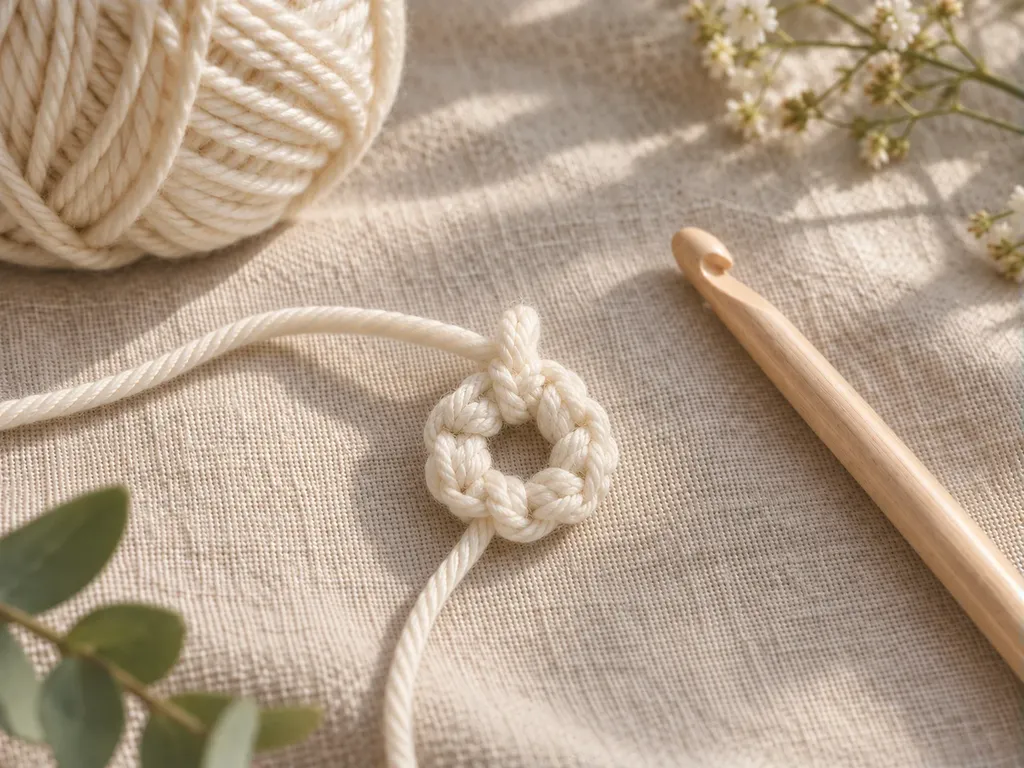
Yarn over and pull through the loop on your hook to make one chain. This small chain holds the ring steady while you work the first single crochet stitches.
- The chain does not count as a single crochet.
- Do not pull it tight against the hook.
- You should still be able to see the large adjustable ring below it.
 Save
SaveWork six single crochet stitches into the ring
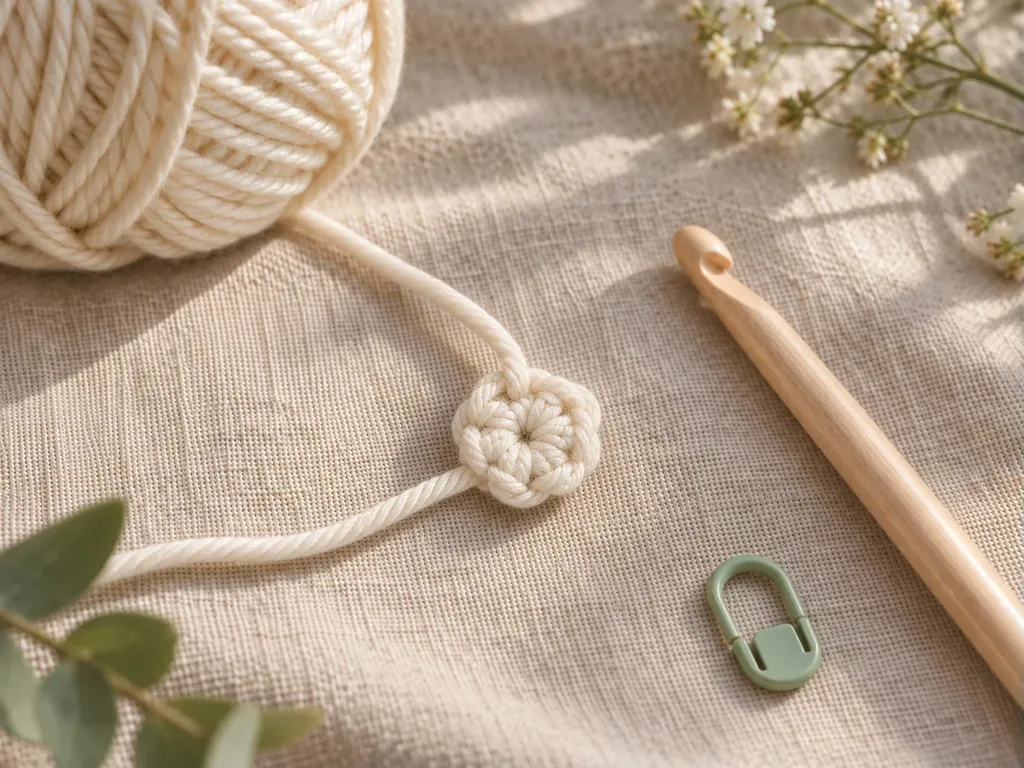
Insert the hook through the center of the ring, under both the ring strand and the yarn tail. Make each sc around both strands so the tail will pull the center closed later.
- Work 6 sc into the open ring.
- Pause after each stitch and count the V shapes at the top.
- Slide the stitches along the ring if they start to bunch up.
 Save
SavePull the tail to close the center
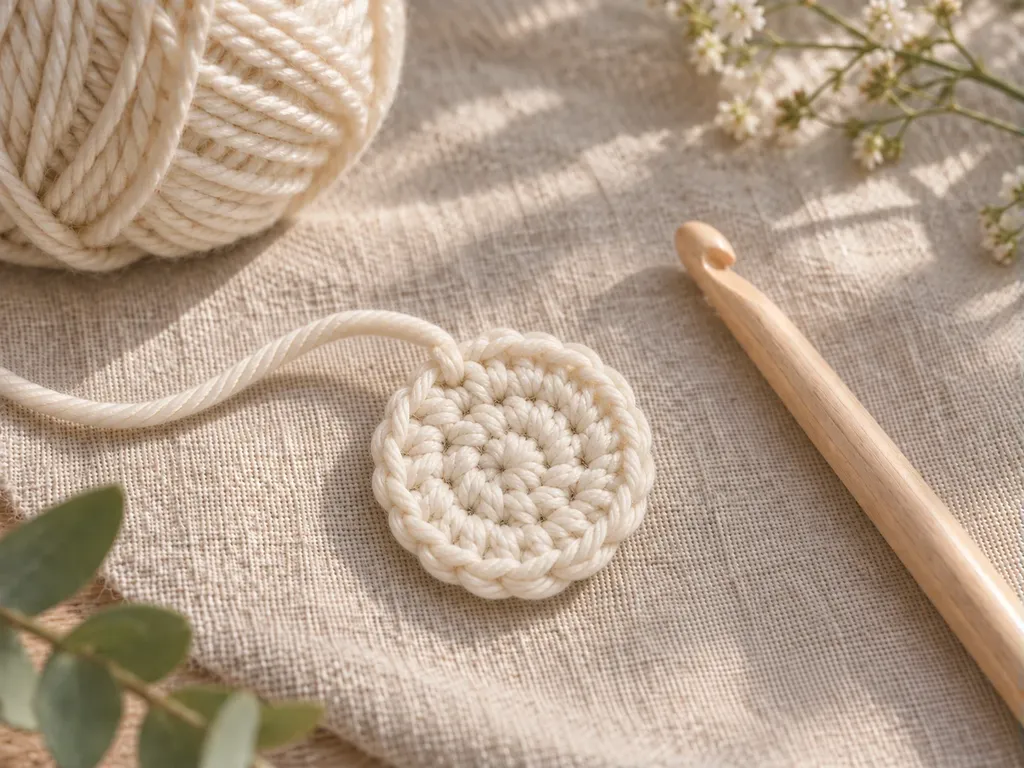
Hold the six stitches gently with one hand and pull the yarn tail with the other hand. The loop should shrink until the center closes into a neat little circle.
- Pull slowly so the stitches settle evenly.
- If the center stays open, check that you crocheted around the tail as well as the ring.
- Do not cut the tail yet; it can be woven in after a few rounds.
 Save
SavePractice the first amigurumi rounds
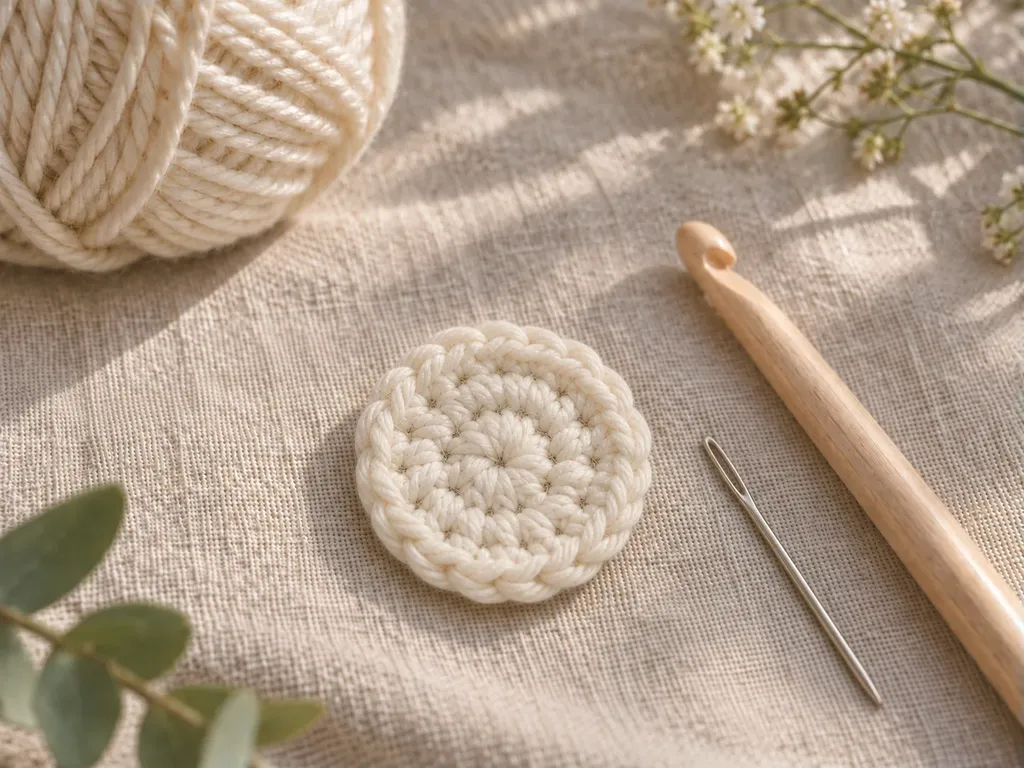
Now use the ring as the start of a simple amigurumi circle. Place a marker in the first stitch of each round so you can find the beginning again.
- Rnd 1: 6 sc in magic ring (6)
- Rnd 2: inc in each st around (12)
- Rnd 3: (sc, inc) x 6 (18)
- Stop and count after each round before moving on.
 Save
SaveSecure the tail and check your count
After two or three rounds, thread the starting tail onto a tapestry needle and weave it through the inside backs of several stitches. Give the tail a gentle tug, then smooth the circle flat and count the final round again.
- The center should look closed from the front.
- Rnd 3 should have 18 stitches around the edge.
- If you are starting a toy head or body, keep the marker in place before continuing.
Before You Start
Once the ring feels steady, it becomes a quiet little habit at the start of amigurumi pieces. Practice with light yarn first, then try the same 6, 12, 18 start in the yarn you plan to use for your next small toy.
Pattern FAQs
Why will my magic ring not pull closed?
The most common reason is that the first-round stitches were worked around only the ring strand, not around the tail too. For this tutorial, place each of the 6 sc over both strands. Then pull the tail slowly while holding the stitches so the center can slide shut.
Does the chain one count as a stitch in this magic ring?
No. In this amigurumi start, the chain one simply locks the loop so you can work into it. Your first counted stitches are the 6 sc made into the ring. After you finish them, count six V shapes at the top before pulling the center closed.
How tight should I pull the center after Rnd 1?
Pull the tail until the center closes neatly, but do it slowly. If you yank hard, the first stitches can twist or bunch together. After Rnd 2, you can pull the tail once more to snug the center before weaving the tail inside the work.
What if Rnd 3 does not have 18 stitches?
Go back to Rnd 2 first and make sure it has 12 stitches. Rnd 3 repeats (sc, inc) six times, so each repeat uses two stitches and makes three. If you lose count, place a marker after every repeat while practicing.
Can I use the magic ring with plush yarn?
Yes, but smooth yarn is easier while you are learning because the stitches are clearer. With plush yarn, make the starting tail a little longer and pull gently in stages. Count by feeling the tops of the stitches, and use a large marker so Rnd 1 is easier to find.
Is a magic ring better than chaining two for amigurumi?
A magic ring is helpful when you want the center of Rnd 1 to close tightly, which is common for amigurumi heads, bodies, and small round pieces. Chaining two can also work, but it may leave a slightly more visible center opening, especially with firm stuffing.
Standards & Sources
Terms and sizes in this pattern follow these standards.