
 Pin it
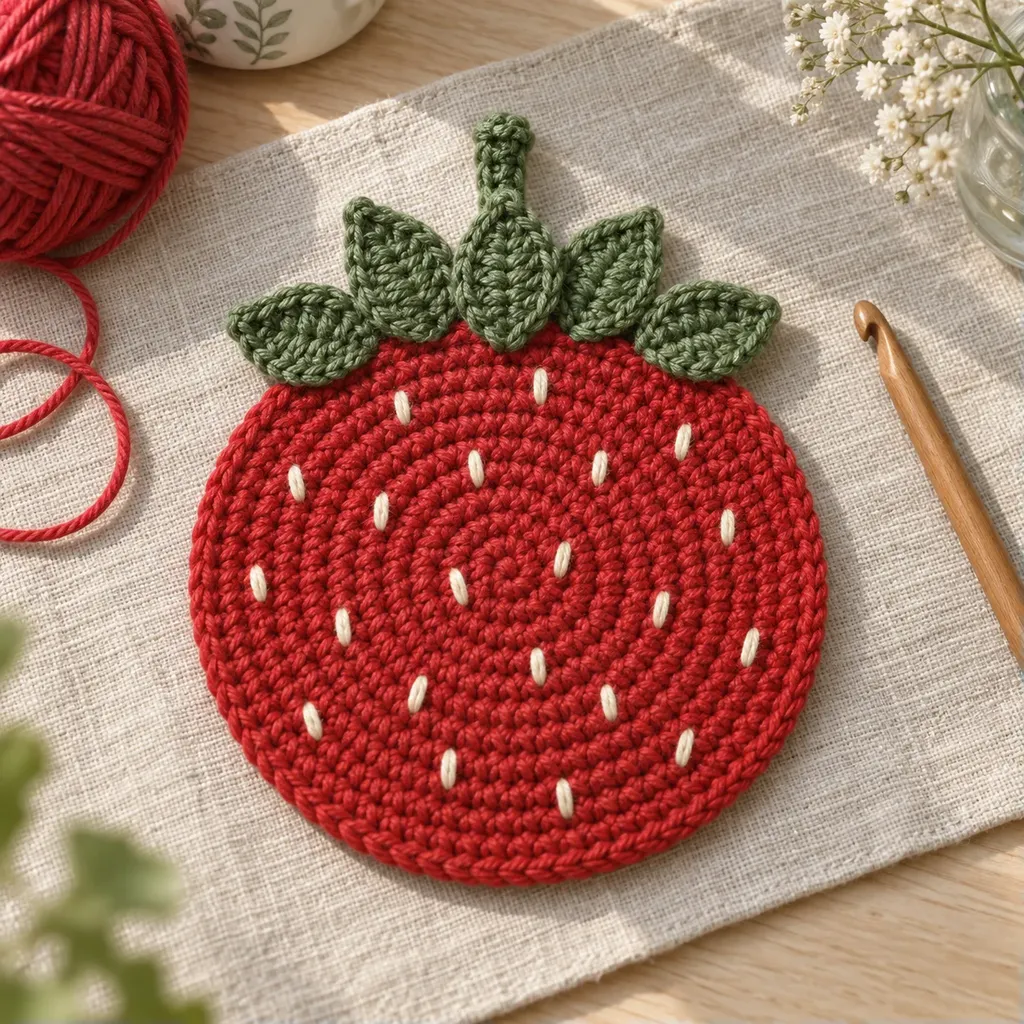
I wanted this strawberry coaster crochet pattern to feel cheerful without being fussy: a smooth red circle, a small leafy crown, and quiet embroidered seeds. It is worked in sturdy cotton with easy single crochet shaping, so you can settle into the rounds, add the details, and block it flat for a sweet little table accent.
Why you'll love it:
- Easy shaping: the red base is a simple flat circle with checked stitch counts.
- Scrap friendly: each color uses a small amount of worsted cotton.
- Useful size: the coaster fits an everyday mug or glass without taking over the table.
- Sweet details: sewn leaves and embroidered seeds make the strawberry clear without bulky layers.
- Good practice: you will work increases, small rows, neat sewing and light blocking.
This coaster uses medium cotton for a firm fabric; the Craft Yarn Council lists medium as weight 4 in its standard yarn weight system. I rate it easy because it uses basic stitches, simple color work and finishing, which fits the Craft Yarn Council project level guidance.
Pattern details
Skill level Easy
- Finished size
- About 4 in (10 cm) across the red circle, about 4.5 in (11.5 cm) tall with leaves
- Time to make
- 1.5-2 hours
- Yarn weight
- 4 · Medium
- Hook
- 5 mm (US H-8)
Gauge
About 15 sc and 17 rows = 4 in (10 cm) after light blocking; exact gauge is less important than a flat coaster.
Yarn
- Worsted weight (CYC 4) cotton in strawberry red, about 28 yd (26 m)
- Worsted weight (CYC 4) cotton in leaf green, about 12 yd (11 m)
- Worsted weight (CYC 4) cotton in cream, about 2 yd (2 m)
Materials
Abbreviations (US terms)
- ch
- chain
- inc
- increase: 2 sc in the same stitch
- Rnd(s)
- round(s)
- Row(s)
- row(s)
- sc
- single crochet
- sc2tog
- single crochet 2 stitches together
- st(s)
- stitch(es)
Pattern notes
- US crochet terms are used throughout.
- Work the red coaster base in continuous spiral rounds and move the stitch marker up each Rnd.
- The five leaves and the small stem are made separately, then sewn to one edge of the coaster.
- Block the finished coaster lightly so the cotton relaxes flat.
Tap a round to tick it off. Your progress is saved on this device.
You're welcome to make and sell items from this free pattern. Please don't copy, translate or republish the pattern itself; share a link to this page instead.
 Save
SaveCrochet the red coaster base
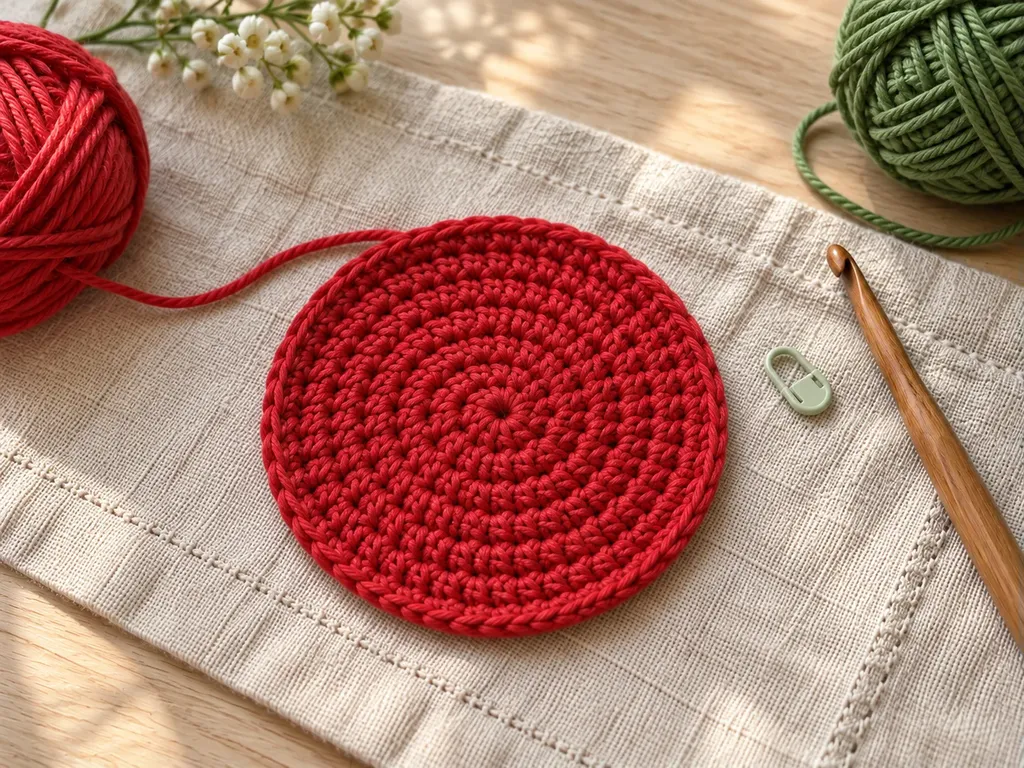
The coaster starts as a flat red circle worked in continuous spiral rounds. Keep your marker in the first stitch of each round, and do not worry if the last round looks a little lively before blocking.
- Rnd 1: 6 sc in magic ring (6)
- Rnd 2: inc in each st around (12)
- Rnd 3: (sc, inc) x 6 (18)
- Rnd 4: (sc 2, inc) x 6 (24)
- Rnd 5: sc, inc, (sc 3, inc) x 5, sc 2 (30)
- Rnd 6: sc 2, inc, (sc 4, inc) x 5, sc 2 (36)
- Rnd 7: (sc 5, inc) x 6 (42)
- Rnd 8: sc 3, inc, (sc 6, inc) x 5, sc 3 (48)
- Fasten off red and weave in the center tail.
 Save
SaveMake the leaves (make 5)
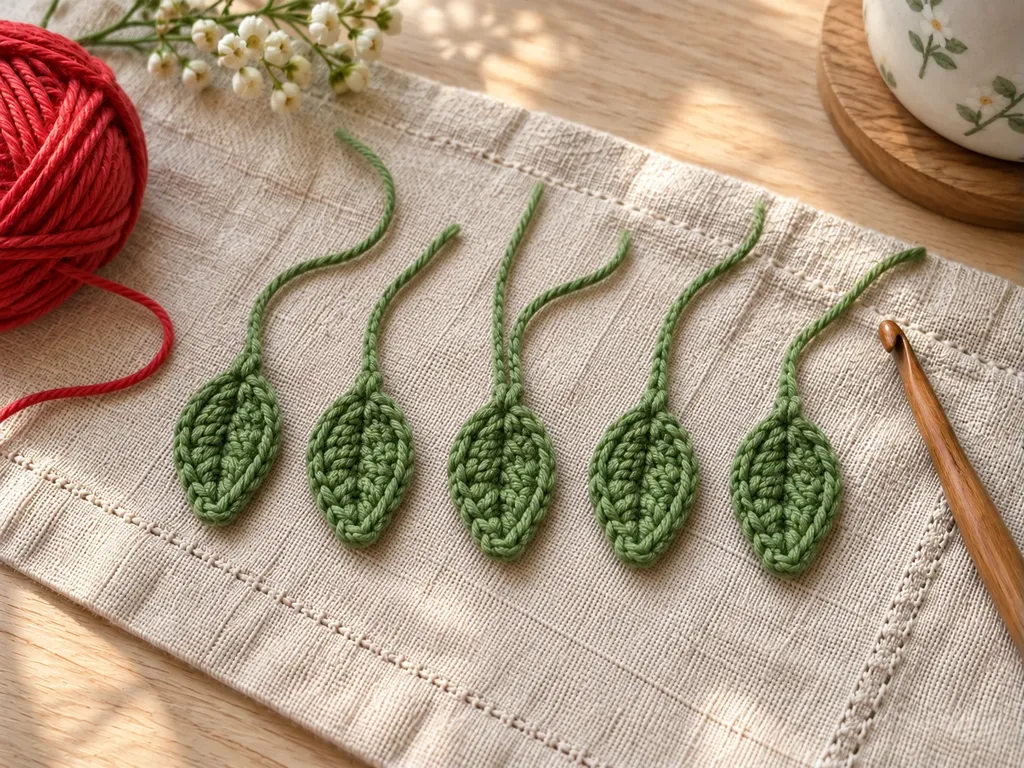
Each leaf is a small tapered piece worked back and forth in rows. Make five leaves in green, leaving a long tail on each one for sewing.
- Row 1: ch 6, sc in 2nd ch from hook and in each ch across (5)
- Row 2: ch 1, turn, sc in each st across (5)
- Row 3: ch 1, turn, sc2tog, sc, sc2tog (3)
- Row 4: ch 1, turn, sc in each st across (3)
- Row 5: ch 1, turn, sc2tog, sc (2)
- Row 6: ch 1, turn, sc2tog (1)
- Fasten off, leaving a long sewing tail.
 Save
SaveMake the small stem
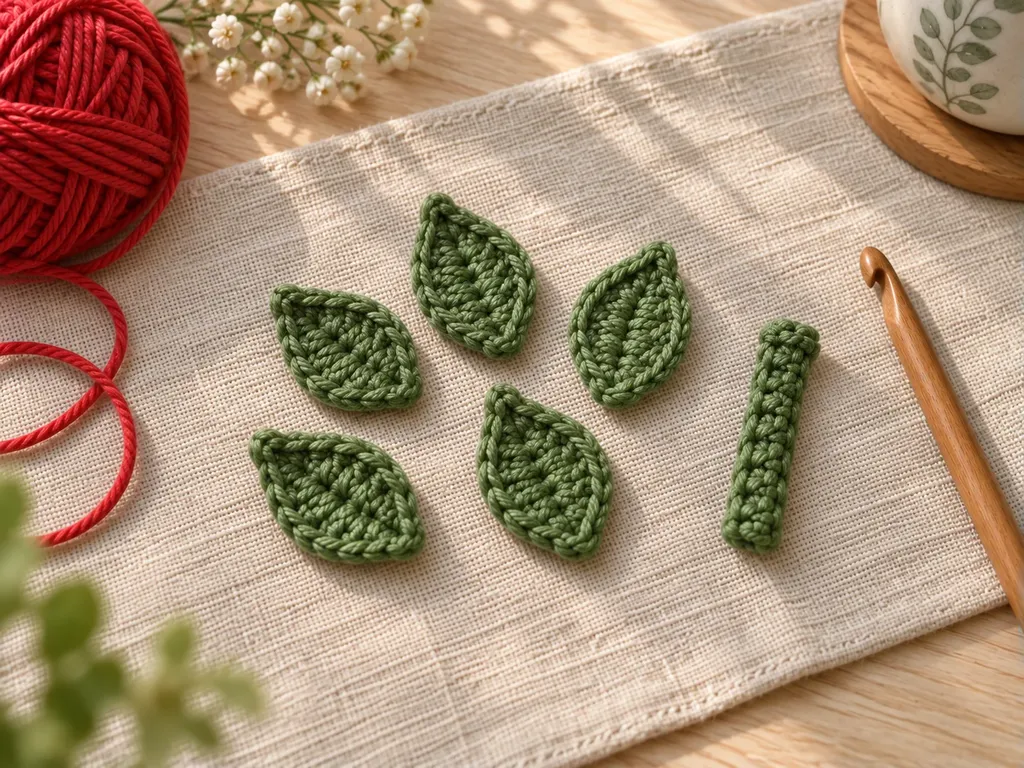
The stem is a tiny green strip that tucks behind the leaves. Work it firmly so it stays neat at the top of the coaster.
- Row 1: ch 5, sc in 2nd ch from hook and in each ch across (4)
- Rows 2-3: ch 1, turn, sc in each st across (4)
- Fasten off, leaving a long sewing tail.
 Save
SaveSew the leafy top to the coaster
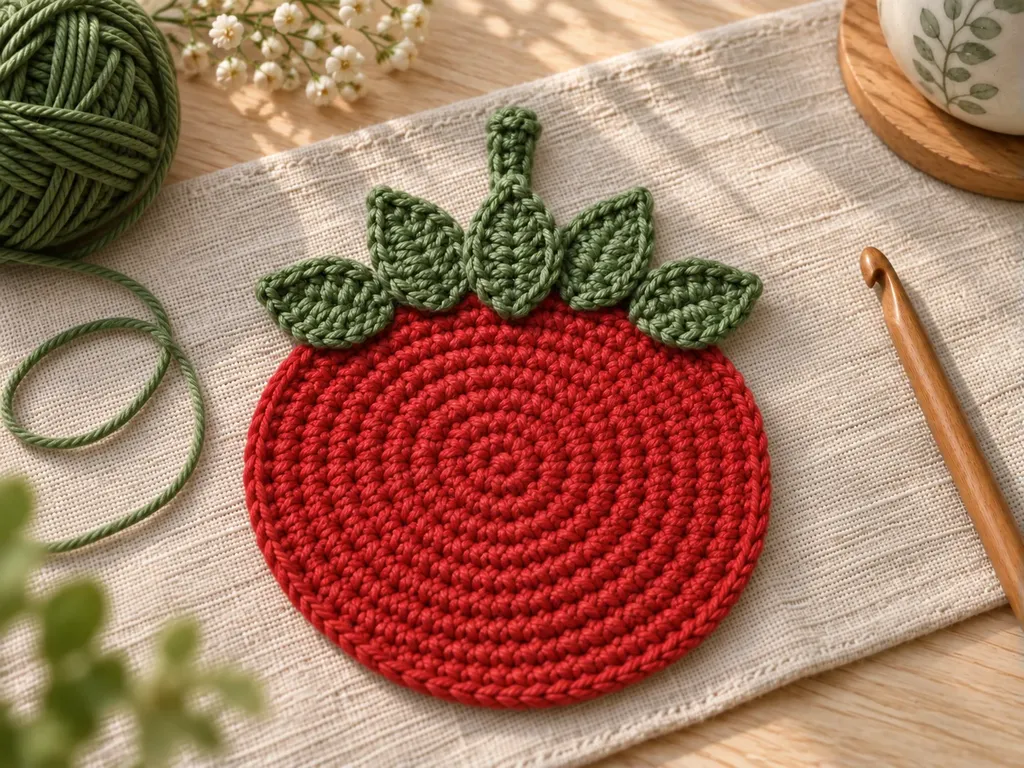
Choose one side of the red circle as the top of the strawberry. The leaves should overlap the edge slightly, with the stem sitting behind the middle leaf.
- Lay the stem behind the red circle so about half of it shows above the edge.
- Place one leaf in the center, then two leaves on each side with the points fanning outward.
- Sew through the base of each leaf and the outer stitches of the coaster, keeping the sewing stitches low and tidy.
- Weave in all green tails on the back of the coaster.
 Save
SaveEmbroider the seeds
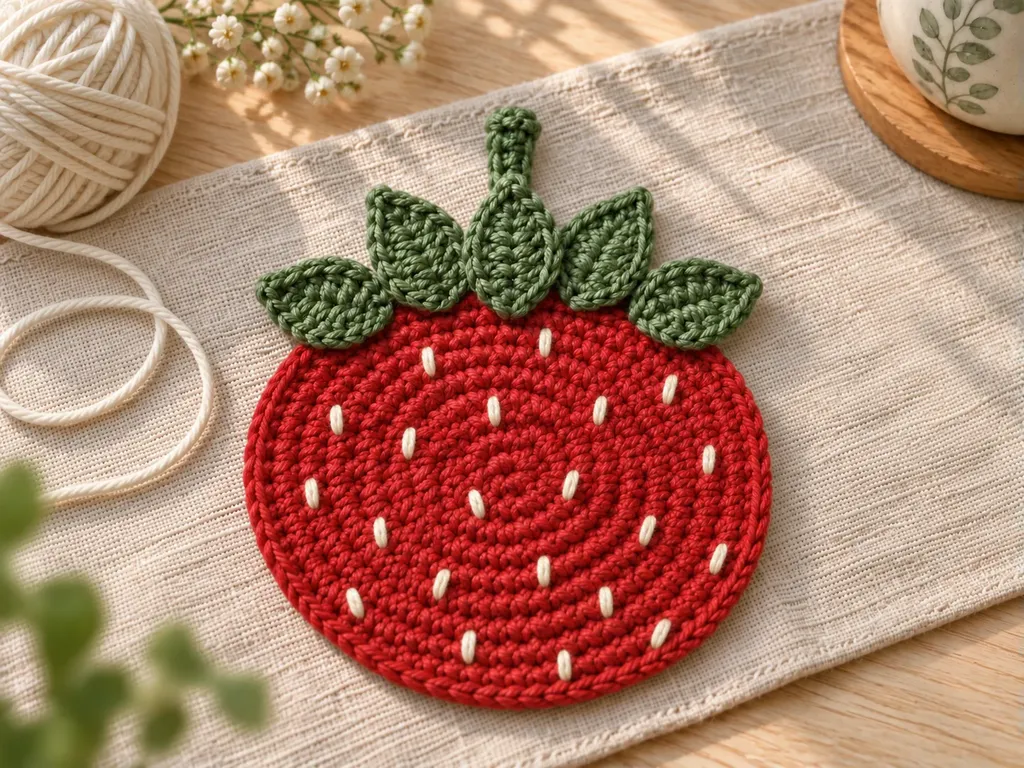
Use cream cotton and a tapestry needle to add small seed stitches over the red circle. Keep the stitches short and relaxed so the coaster still lies flat.
- Start near the top under the leaves and work in loose staggered rows.
- Make each seed about one stitch tall, skipping space between seeds so the red crochet shows through.
- Secure the thread on the back with small woven stitches, not bulky knots.
 Save
SaveBlock and finish
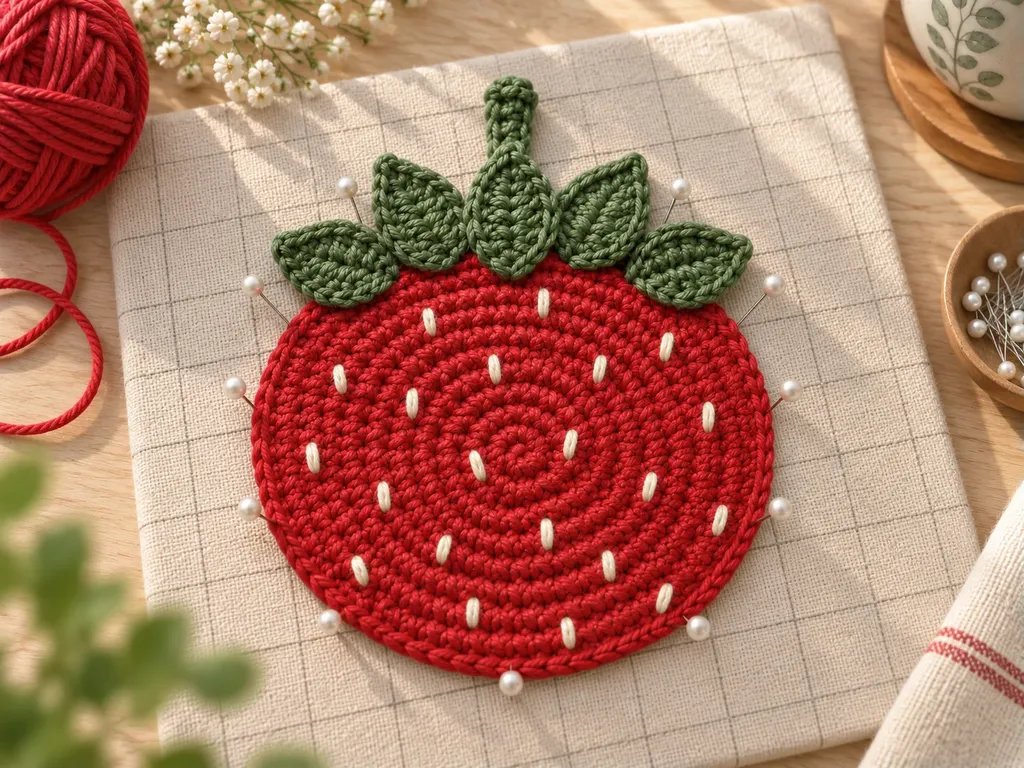
Blocking helps the cotton circle relax into a coaster shape. Use gentle shaping rather than hard stretching so the strawberry stays round and the leaves keep their soft points.
- Dampen the coaster lightly, then press out extra moisture in a towel.
- Pin the red circle into a smooth round shape, arranging the leaves evenly at the top.
- Let it dry fully before removing the pins.
- Trim any tails only after the coaster is dry and flat.
Before You Start
This little strawberry coaster is sweet with classic red and green, but it also works nicely in soft pink, coral or deep berry cotton. Once you like the shape, make a small set and vary the seed placement so each one feels handmade and easygoing.
Pattern FAQs
Why is my red circle cupping after Rnd 6?
Cupping usually means the stitches are a little tight for the increases. First, check that Rnd 6 has 36 stitches and Rnd 7 has 42. If the counts are right, loosen your tension slightly or go up one hook size. Light blocking at the end also helps cotton settle flat.
Can I stop before Rnd 8 for a smaller coaster?
Yes. If you stop after Rnd 7, the red circle has 42 stitches and will make a slightly smaller coaster. Sew the leaves on the same way, but use fewer embroidered seeds so the surface does not look crowded. Your finished size will depend on your cotton and tension.
How do I keep the seed embroidery from showing on the back?
Use short seed stitches and weave the cream tail through the backs of nearby red stitches instead of carrying long strands across the coaster. If the yarn feels bulky, split the cotton strand or use a thinner cotton thread. The back should feel smooth enough to sit flat on the table.
Can I use acrylic yarn instead of cotton?
You can use acrylic if that is what you have, but cotton gives this coaster a crisper edge and a flatter blocked shape. With acrylic, keep the embroidery light and skip heavy stretching while finishing. This pattern is for a coaster, not a potholder or heat pad.
Where should the green leaves sit on the coaster?
Place the leaves across about one quarter of the coaster edge, with the center leaf pointing straight up and the side leaves fanning outward. Sew only along the lower edge of each leaf. That keeps the leafy top secure while letting the points look natural and strawberry-like.
How do I block the coaster without stretching it out of shape?
Dampen the coaster, smooth it with your hands, then pin the red circle just enough to make an even round shape. Do not pull the outer stitches hard. Arrange the five leaves while the cotton is damp, and let everything dry completely before trimming the final tails.
Standards & Sources
Terms and sizes in this pattern follow these standards.